
I printed some Crafty Secrets digital papers and had some odds and ends left from other projects and thought...hey, I can make some cute notepads for the holidays! You don't need a lot of fancy stuff to make these notepad holders and they are a GREAT way to use of scraps!

I created one long notepad in a Halloween theme and one "chunky" notepad in a Christmas theme. My family loves notepads, too so these will make fun decor and be super useful. These notepad covers are easy to make and are wonderful gifts for neighbors, teachers, and friends.

The long notepad is 8 x 2 1/2 inches. If you cannot find notepads in this size, your local office supply store can cut 8 x 5 inch notepads in half, usually for a small fee. (I think I paid $2 to have the dude at Office Depot cut 10 pads for me. He looked at me like I was a freak, but he did it. I just purchased a few packs of the 8x5 pads, took them to the desk where they do the photocopying, and asked to have them cut in half.)
To create the cover, trim black cardstock to 8 1/8 x 5 1/2 inches. Score on the short side at 2 5/8 and 2 7/8 inches. Cut printed paper to 8 x 2 1/2 inches for the front, back, and inside covers. I used the chandelier paper from the Vintage Halloween CD4. (The Halloween papers are also available as part of the Halloween digital paper pack.)

Add a scrap of paper to the top of the notepad to hide the "ugly" binding. I used stickers to spell out "LIST" across the top of the notepad (Halloween Treats Vintage Stickers). Glue the notepad to the right side of the inside cover.
I added a Halloween image to the left side of the cover (Halloween Printable Sheet). I rough cut the image with scissors and inked the edges with black ink.

Create a "belly band" for your notepad. Trim black cardstock to 1 1/8 x 7 1/8 inches. Trim printed paper (also from the Vintage Halloween CD4) to 1 x 7 inches and attach to the black cardstock strip. Wrap the strip around the notepad and secure at the back. Make sure it is not too tight or you won't be able to slip it on and off the pad.
Trim a ticket from the Halloween Greeting Creative Scraps. Use pale gray markers to color the candy image. Add the ticket to the belly band with foam squares.
I also had enough goodies to make a Christmas notepad, but this one is 5 1/4 x 3 1/2 inches. You can buy this size notepad in packs at the office supply store. They come in lots of colors, too. (I just have boring white!)
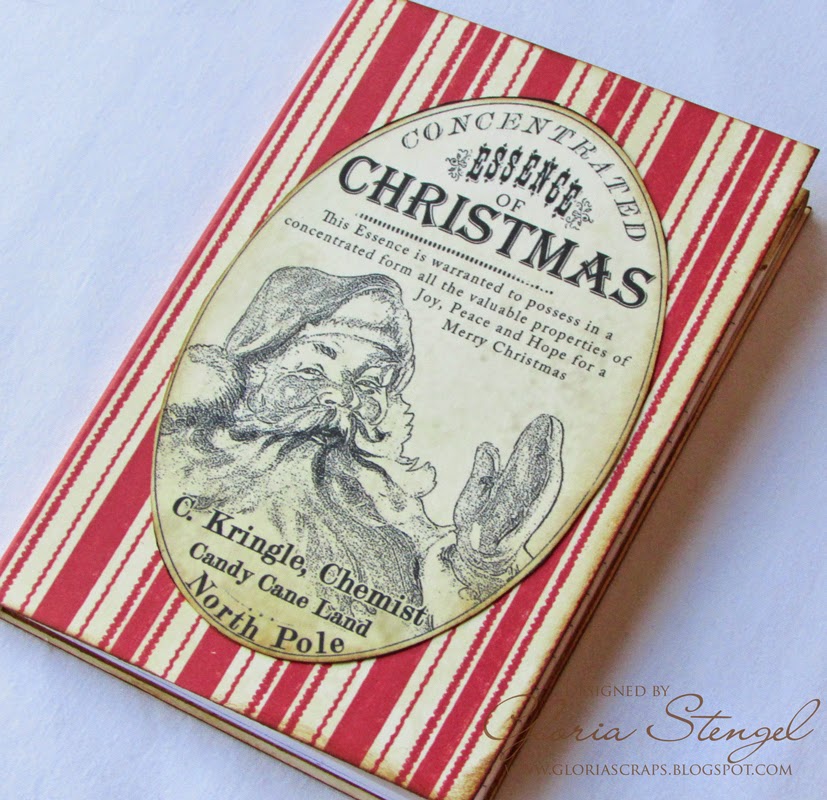
To create the cover, cut the striped paper to 5 3/8 x 7 1/2 inches. Score on the long side at 3 5/8 and 3 7/8 inches. The striped paper is digital paper from the Retro Christmas CD5, printed onto cream cardstock. (This paper is also part of the Retro Christmas digital paper pack.) Trim out the Santa image from the Vintage Christmas CD6 and at it to the front cover.

Trim music paper from the Vintage Christmas CD6 to fit the inside covers. (The vintage papers are also part of the Vintage Christams digital paper pack.) Add a scrap of paper to the top of the notepad to hide the "ugly" binding. Glue the notepad to the right side of the inside cover.
I added a Christmas image to the left side of the cover (Winter Printable Sheet). I rough cut the image with scissors and inked the edges with black ink.

I added a ticket from the Vintage Christmas CD6 to the back of the notepad cover.

Stop by the Crafty Secrets Blog to see all the news and fun projects by the Design Team.

Vintage Halloween CD #4
Halloween Treats Vintage Stickers
Halloween Printable Sheet
Halloween Greeting Creative Scraps
Halloween digital paper pack
Retro Christmas CD #5
Retro Christmas digital paper pack
Vintage Christmas CD #6
Vintage Christams digital paper pack
Winter Printable Sheet
Other products:
Cardstock: WorldWin ColorMates Treasures Black; Neenah Natural White
Ink: Ranger Distress Vintage Photo; Memento Tuxedo Black
Notepads: Office supply
Adhesive: Scrapbook Adhesives by 3L 3D Foam Squares; Scotch 3M ATG tape
I love notepads! These are so adorable, Gloria, and the tutorial is wonderful, too! I've used my guillotine to cut stenographer's notebooks in half, but having the guy at Office Depot do it would be so much easier! Thanks for the tip!
ReplyDelete