
I am back again with a project for Gina's Designs (Precision Laser Cuts for Crafters). I have been pressed for time, so this week I did not make a big, elaborate project. Instead, I made a card and two tags. (If you missed my Christmas composition box from last week, click HERE to see that.)

My favorite type of Christmas decor is vintage with traditional colors and a bit of rust and whitewash tossed in for good measure! I like to use chipboard elements on cards and tags because it adds a lot of detail and interest without a lot of bulk or weight.

The card is 6" x 5" and made with dark brown cardstock. I used just a bit of designer paper because I wanted the chipboard elements and the sentiment to be the stars of the show. {Stars...get it?!} I covered the oval element from the Stars and Flourishes Borders and Corners Set with gold pigment ink and then embossed with Aged Bronze Embossing Enamel. I made sure to allow the enamel to look pitted and aged, with a few bits of the original chipboard showing through.

I decorated the star oval with snowflakes from the Winter Shape Set and the Snowflake Shape Set. I sprayed the snowflakes with white shimmer mist, and then embossed them with sparkly white embossing powder. The buttons are tied with kraft twine and then glued to each snowflake.
I covered one of the keyholes from the Keys and Plates Shape Set with gold pigment ink. I added tiny gold brads to the keyhole. Each flower was dipped in gold ink before I glued them to the card.
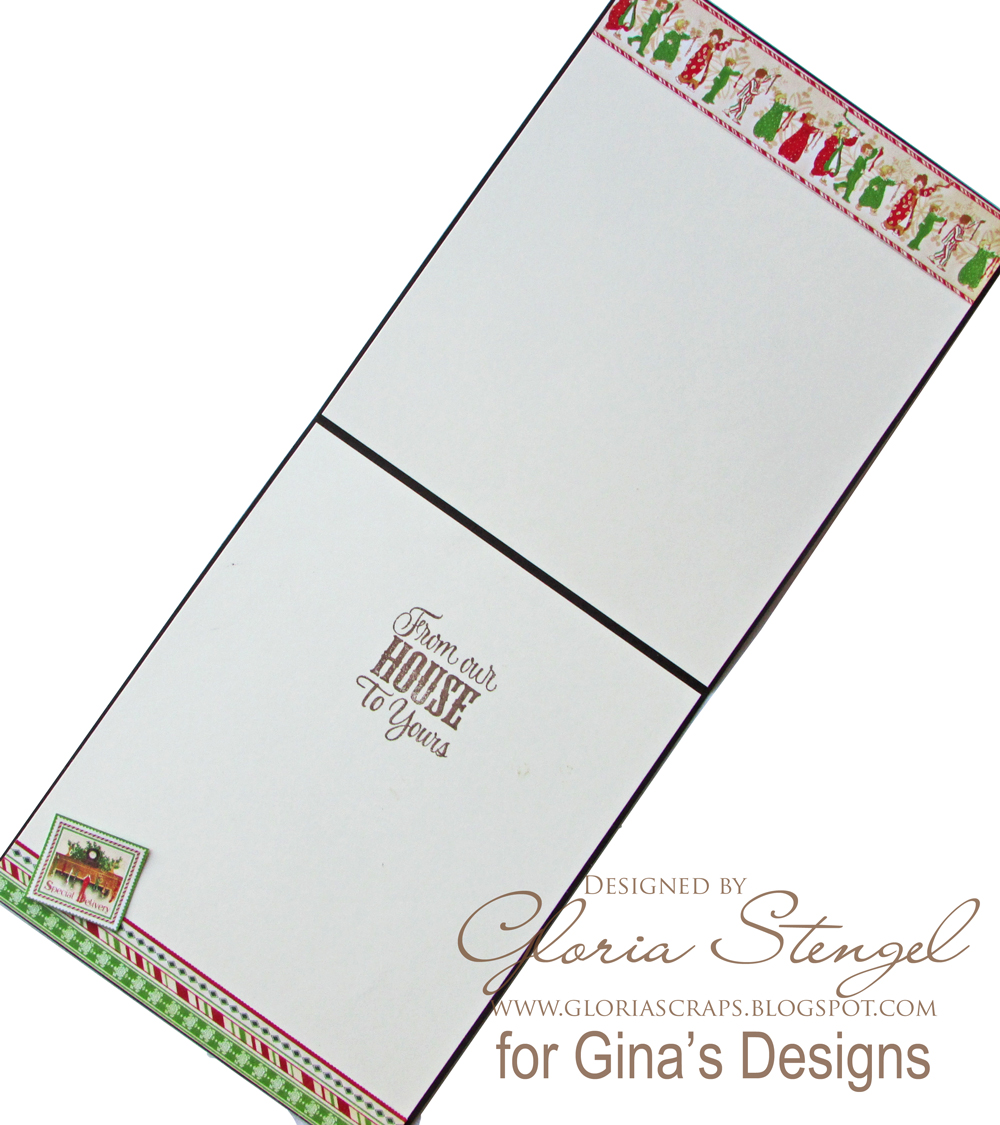
I decorated the inside of the card with some leftover bits of paper and a stamped greeting.

I always need extra tags around the holidays, so I made two tags to match the card. Both tags are Graphic 45 Kraft tags, one is Regular size and the other is the ATC size.

I added a bit of paper to the front of the tag before adding the chipboard elements. I sprayed the star flourishes from the Stars and Flourishes Borders and Corners Set with white mist and then dabbed them with watermark ink. I then embossed the flourishes with embossing enamel. I mixed white embossing enamel with gold embossing powder to make a custom enamel! I love how "clumpy" and thick the enamel is, but the areas with the gold embossing powder are thinner, sort of like rust. It makes the chipboard look amazingly vintage!
I sprayed the word from the Words and Phrases 1 set with Fire Baseboard Mistable Paint and Pearl Glimmer Mist. I added some "gilded" flowers and some bits of paper the I curled around a stylus. I also tucked a few faux postage stamps into the flowers.

I decorated the small tag with one corner from the Art Deco Corners Set, which I sponged with gold pigment ink. I sponged the miniature bookplate from the Miniature Bookplates Shape set with silver pigment ink. I added tiny silver brads to the bookplate. I used a Shabby Blue Embossing Enamel for the stars.

I hope you use up some of your paper scraps and bits of chipboard to make a few cards and tags this holiday season! Come back next week to see more...fun with chipboard! Hop on over to the Gina's Designs Blog for more inspiration!
 Gina's Designs Laser Cut Chipboard:
Stars and Flourishes Borders and Corners Set
Snowflake Shape Set
Winter Shape Set
Keys and Plates Shape Set
Words and Phrases I Set
Art Deco Corners Set
Miniature Bookplates Shape Set
Other Products:
Ink: Memento Rich Cocoa and Rhubarb Stalk dye ink, Delicata Silvery Shimmer and Golden Glitz pigment ink, Top Boss Watermark ink
Mist: Tattered Angels Fire Blackboard Mistable Paint and Pearl Glimmer Mist, Deco Art White Shimmer Mister
Embossing powder and enamel: Stampendous Shabby Blue and Aged Bronze EE, Hampton Art glitter white EP, custom mix white and gold EE
Paper: Graphic 45 'Twas the Night Before Christmas, The Paper Studio Old World Winter
Cardstock: WorldWin Papers Cocoa and Natural
Stamps: Verve Stamps Holiday Treats, Sweet 'n Sassy Stamps Christmas Innies
Tags: Graphic 45
Ribbon and twine: Really Reasonable Ribbon Light Silver and Old Gold Diagonal Stripe Satin ribbon, Iridescent White Metallic String
Flowers: Wild Orchid Crafts
Brads: Creative Impressions
Buttons: craft supply
Tools: corner rounder, Spellbinders Framed Tags One die
Adhesive: Ranger Glossy Accents, Scotch 3M ATG tape, hot glue
Lovely! I especially like the way you used some of the postage size pieces of Graphic 45 as I sometimes have trouble thinking of a way to use them.
ReplyDeleteMay light perpetual shine upon your mother and upon your aunt and may they rest in peace.
Gloria, I am so sorry to hear of your Mother and Aunt's passing. My thoughts are with you and your family.
ReplyDelete