

1. Cut Stardream Metallic Lapis Lazuli Cardstock to 4" x 8 1/4". (You can make two (2) holders from each 8 1/2" x 11" piece of cardstock!)


4. Cut decorative paper to 2 7/8" x 3 7/8" and attach to the center panel. Place Scor-tape on the bottom, outside edges.

6. Cut decorative paper for the top and bottom panels and attach. (Without the decorative edges, cut paper for the top panel to 2 7/8" x 3 7/8". For the bottom panel, cut paper to 2 1/8" x 3 7/8".)
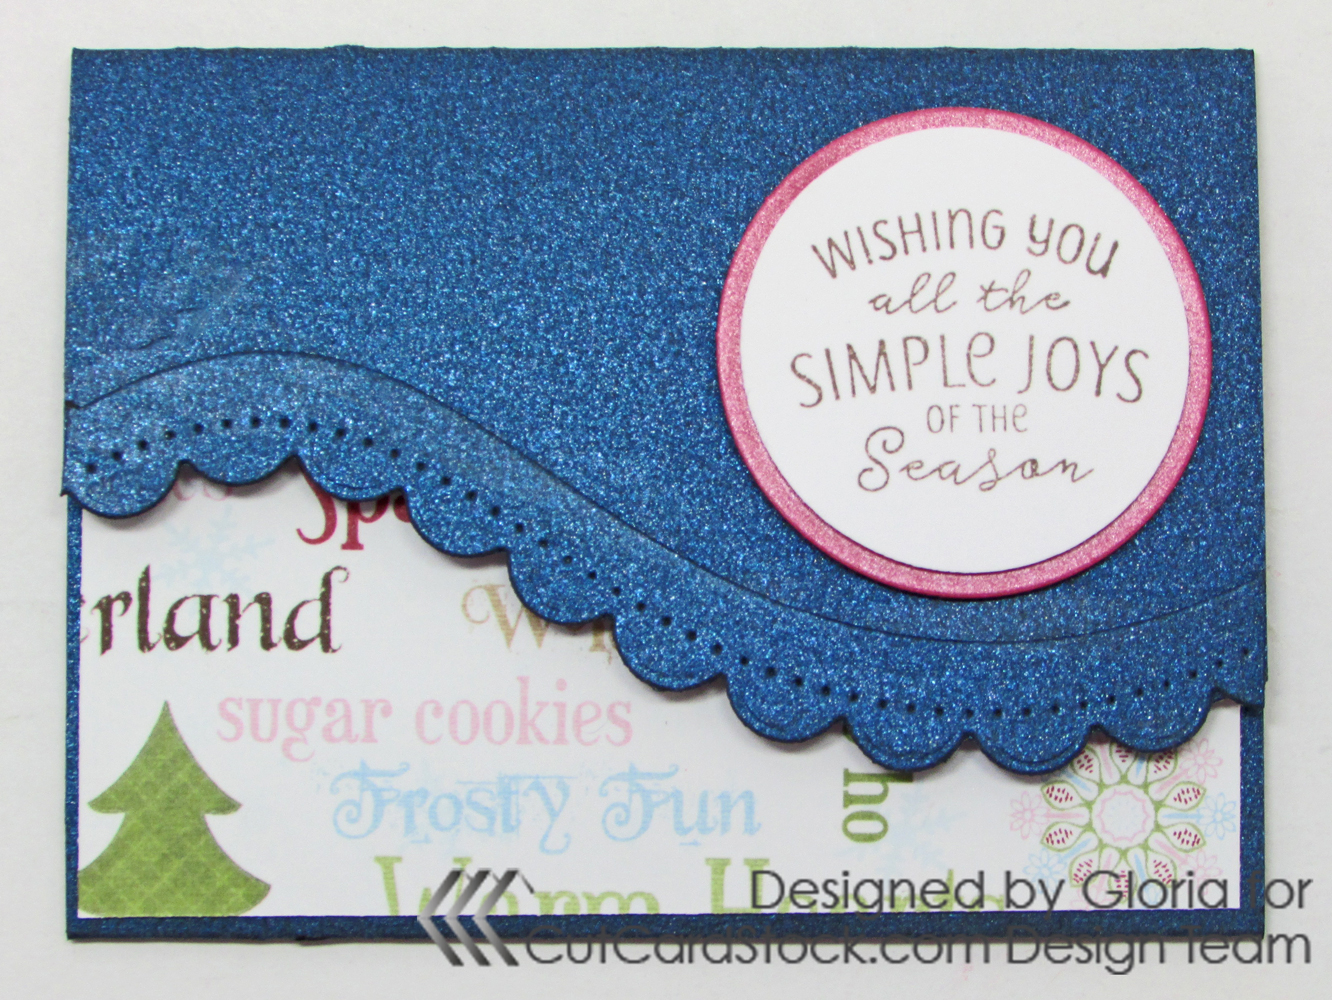
8. Stamp a sentiment onto Classic Crest Solar White Cardstock with brown ink. Cut out the sentiment with a circle die or punch.
9. Cut a slightly larger circle from Stardream Metallic Azalea Cardstock. Attach the pink circle to the stamped sentiment. Attach the sentiment to the right side of the gift card holder with foam adhesive.

10. Place a gift card into the pocket.

11. Use an envelope punch board to create an envelope for a 3" x 4" card. This size envelope requires a 6" x 6" piece of paper, which makes it a great use for 6x6 paper pads!

12. Create another gift card, in a vertical orientation. You can create a belly band from a strip of Stardream Metallic Silver Cardstock and a piece of snowflake ribbon. (I also pulled out some tag punches to create the sentiment "blocks.")


This project is the perfect way to use up some of the Christmas paper in your stash!
Thanks for looking!

Stardream Metallic Lapis Lazuli Cardstock
Stardream Metallic Azalea Cardstock
Stardream Metallic Silver Cardstock
Classic Crest Solar White Cardstock
Scor-tape
Double-sided Foam Adhesive Squares
Double-sided Adhesive
Other:
Stamps: Power Poppy Simple Joys, Holly Golightly
Ink: Memento Rich Cocoa, Tuxedo Black
Dies: Spellbinders Curved Borders 2, Standard Circles Large, Small
Punches: Stampin' Up
Punch board: We R Memory Keepers Envelope board
Paper: My Favorite Things Plaid Patterns Merry and Bright, Dream Street Papers Wonderland, Graphic 45 Christmas Emporium, My Mind's Eye Light Dusting
Ribbon: Really Reasonable Ribbon snowflakes on silver grosgrain
These are so clever! Well done my friend. Hope you have a wonderful Christmas!
ReplyDeleteGreat creation and holiday inspiration. Thank you for the great ideas!
ReplyDeleteLove this one
ReplyDeleteI'm always looking for gift card holder ideas and this one is so classy. With my favorite papers supply I know I'll be using this idea soon. Thanks!
ReplyDelete