Graphic 45 Fruit & Flora Folio Cards
Card folios are the perfect way to share photos, journaling, and memorabilia, but in a card configuration! I have created one 6” x 12” scrapbook folio and one 6” x 5” card folo using the Fruit and Flora Collection. Both projects show the lovely images of fruit and flowers in a stunning color palette.
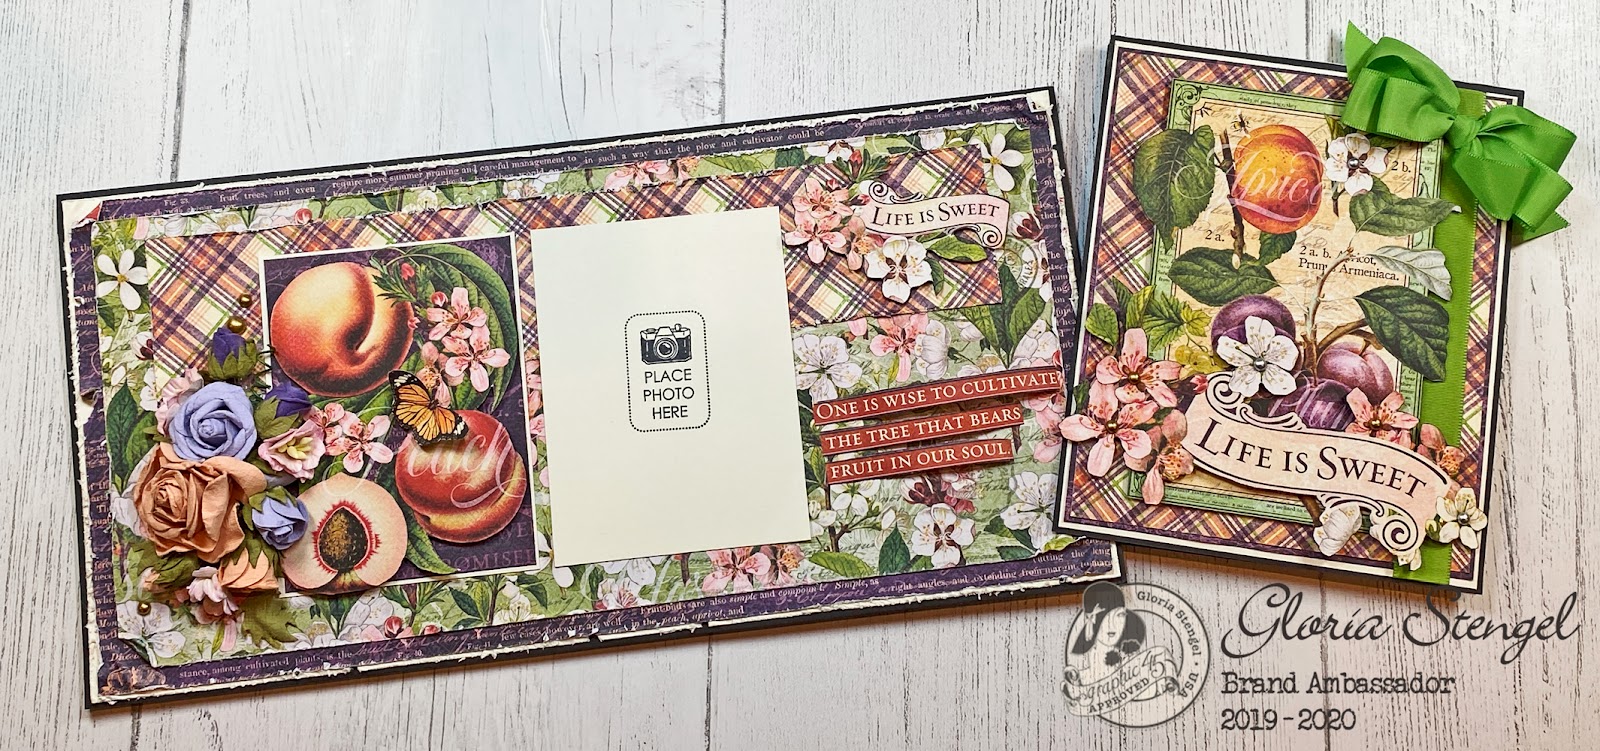
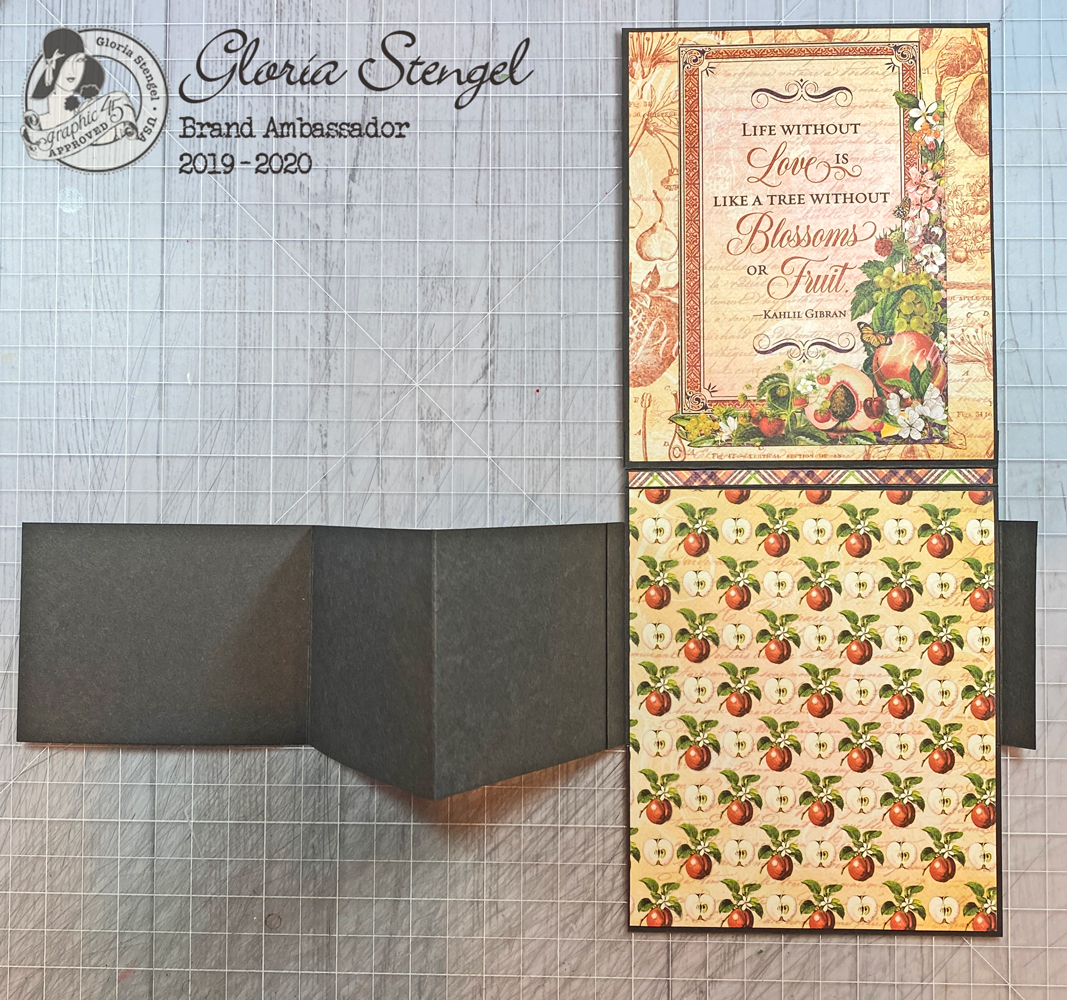
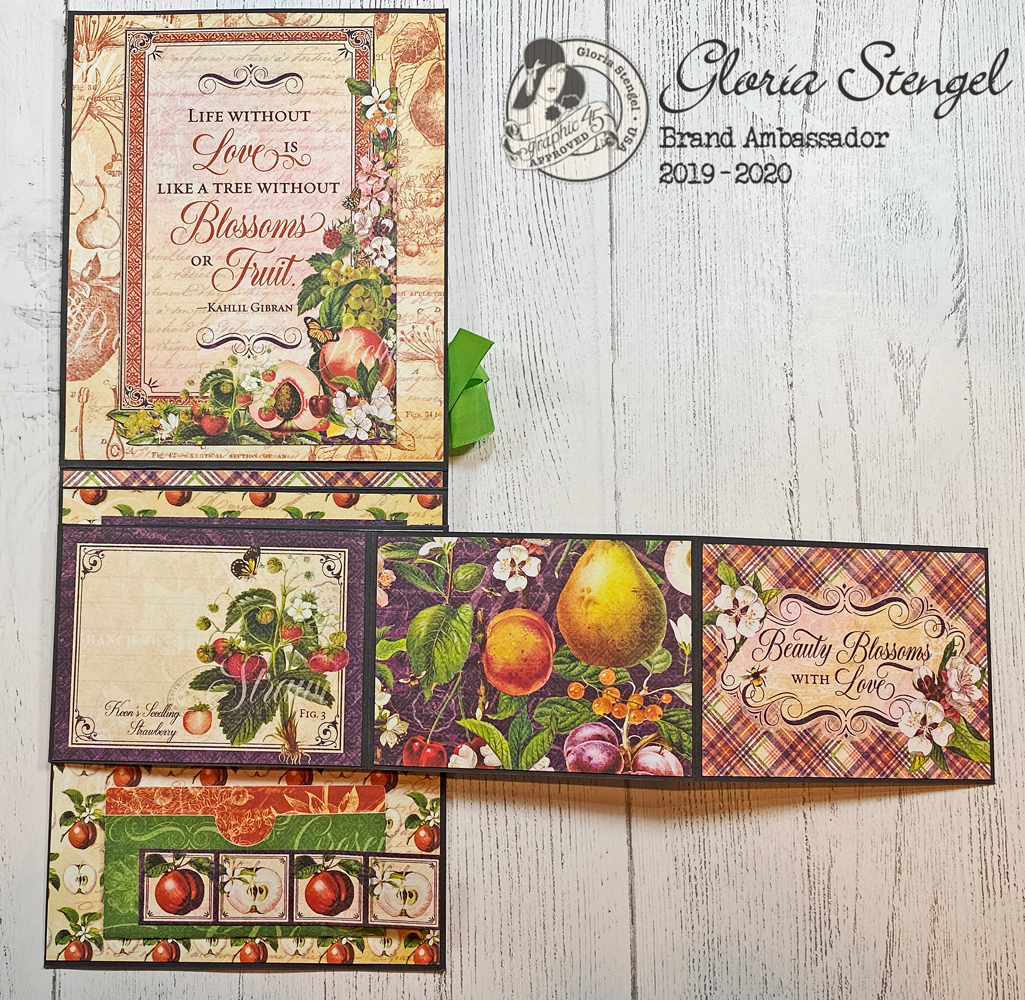
The first folio is 6” x 5” x ½” and contains two fold out elements, plus a gift card holder. This beautiful paper is perfect for all styles and themes of card making!
To create this style of card, cut one piece of cardstock to 6” x 5”. Cut a second piece of cardstock to 6 ¾” x 5” and score at ½” and ¾” on the long side to create a ½” spine. Attach the two pieces together by the ½” tab, making a card folio that is 6” tall, 5” wide, with a ½” top spine.
Cut decorative paper to add to all the outside surfaces. Add green taffeta ribbon to the right side of the front panel, as shown above. (The card shown above is open, with the inside panels facing the work surface.
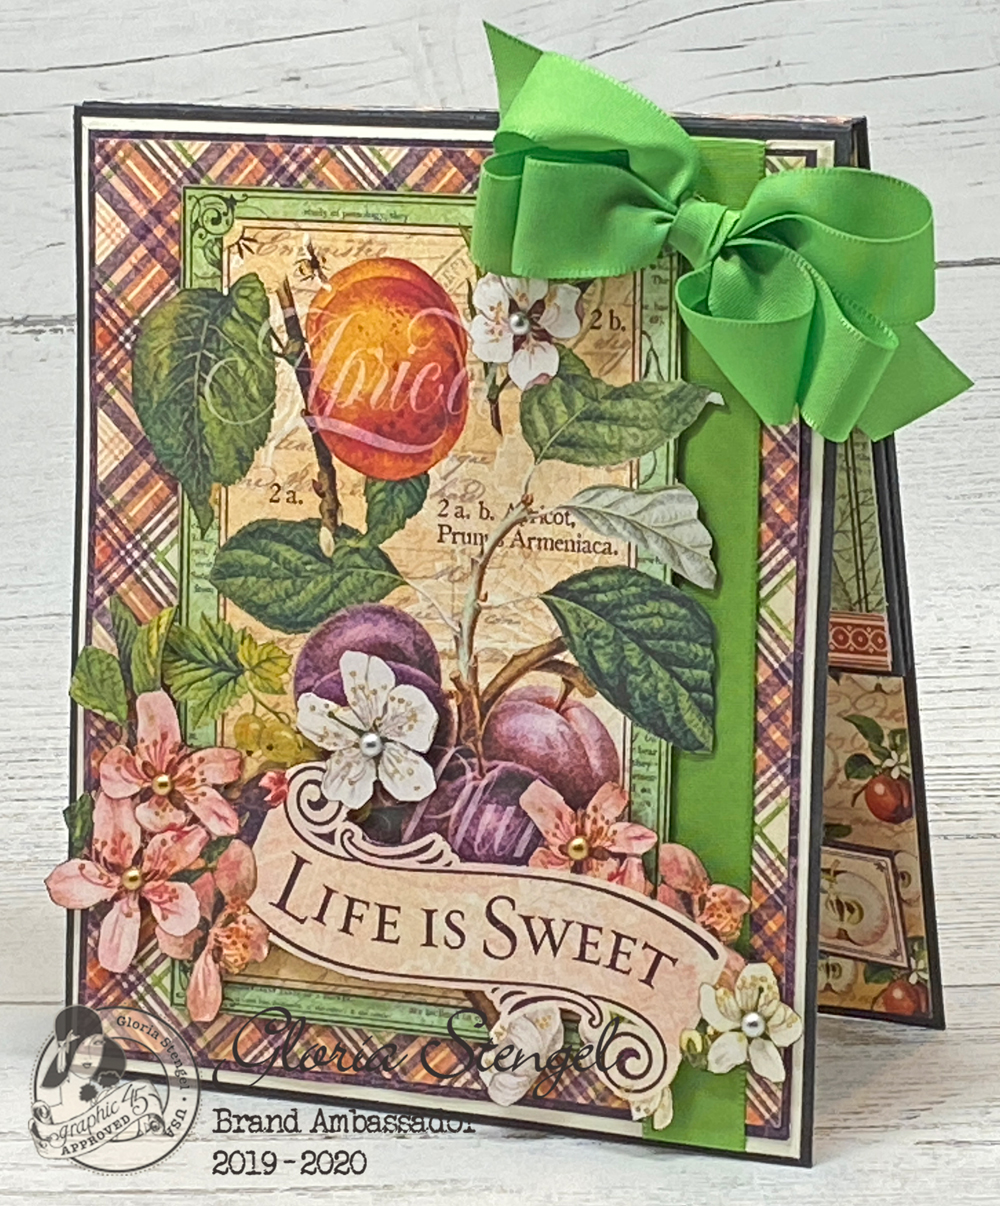
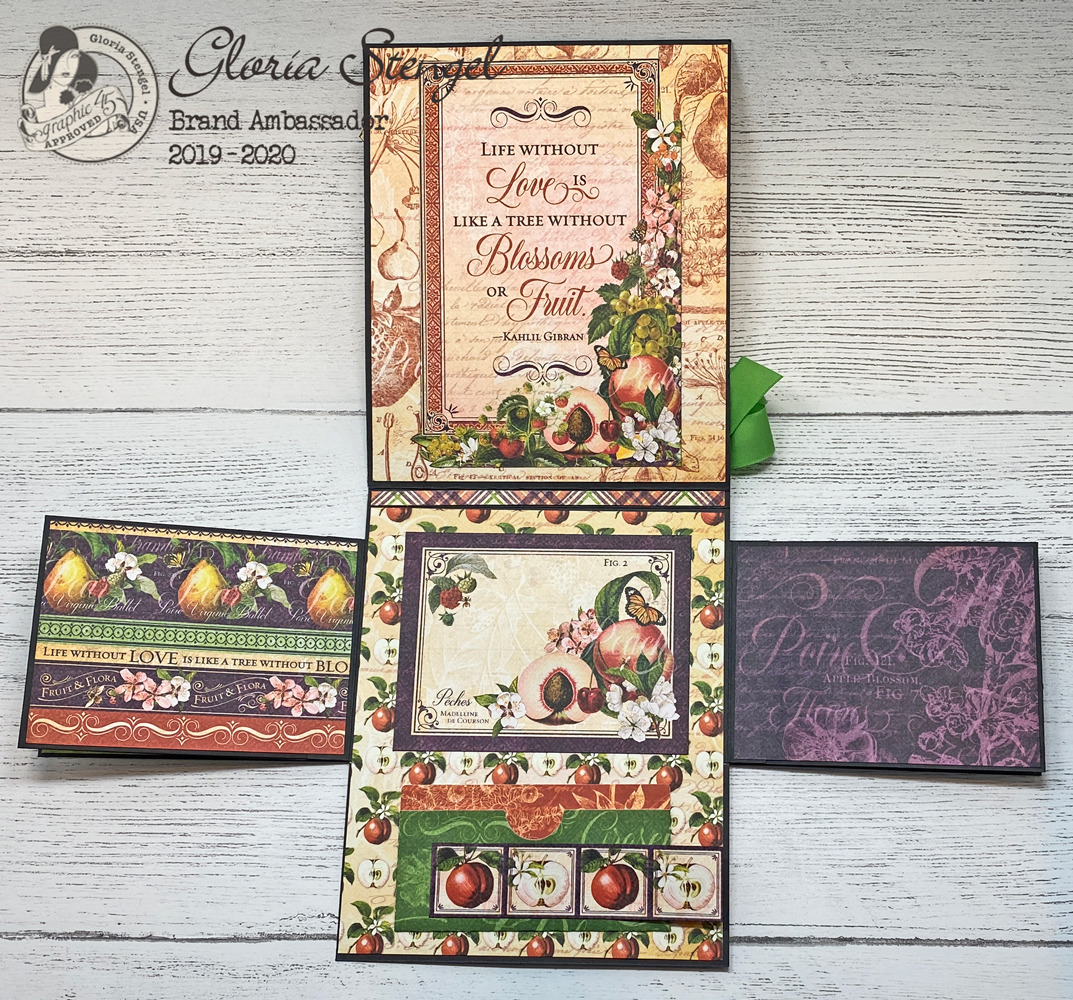
Fussy cut around the edges of one of the ephemera card cut-aparts from the Orchard Fresh sheet. Attach a piece of scrap chipboard to the back of the image. Then attach the image to the front of the card.
Fussy cut some flowers and the “Life is Sweet” banner from the paper and attach to the card front with foam adhesive. Glue a green taffeta bow to the upper right corner of the card front.
Add Matt Pearl Gems to the flower centers.
Add decorative paper and another ephemera card cut apart to the inside top panel. I also added a thin paper strip to cover the ½” spine.
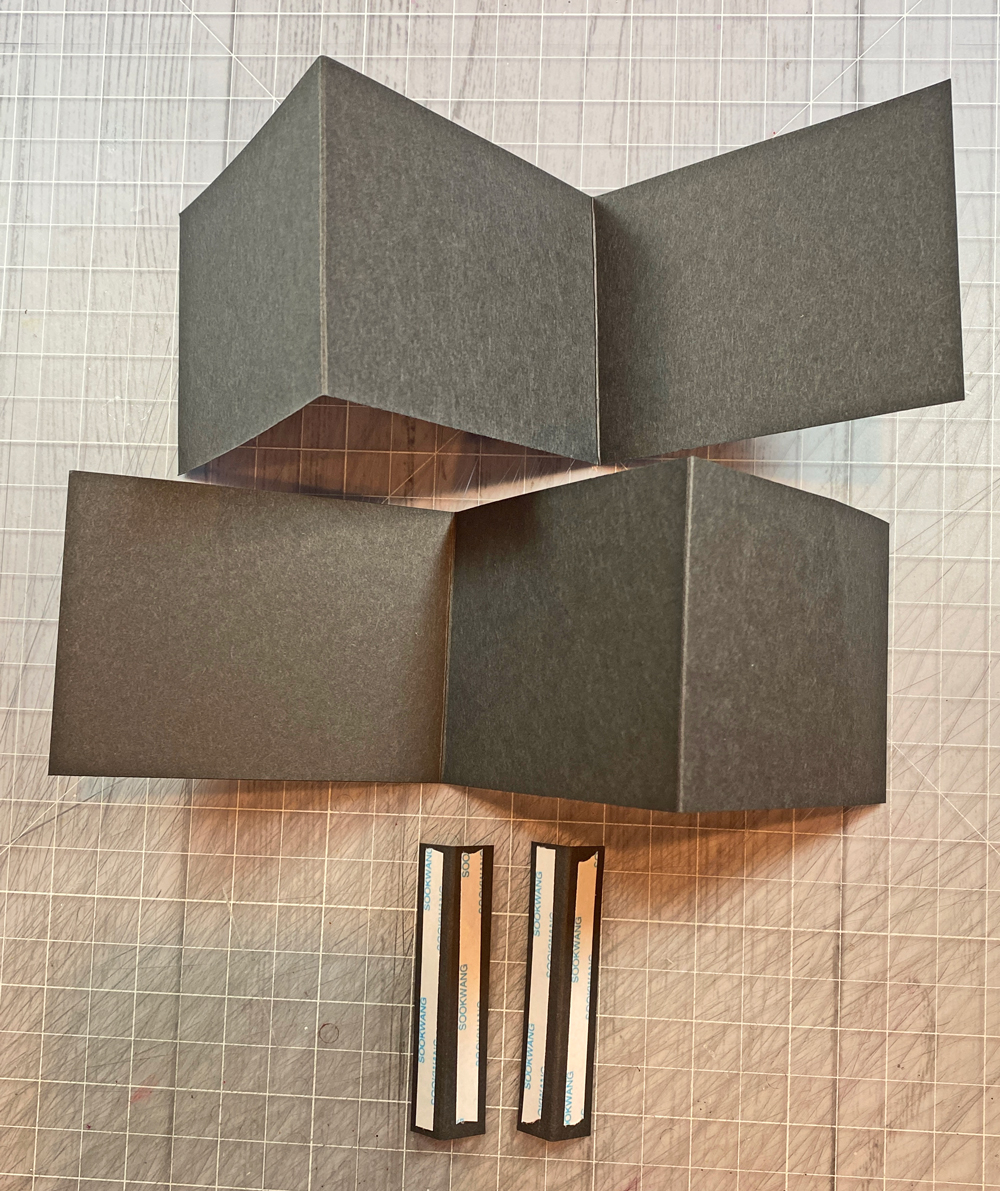
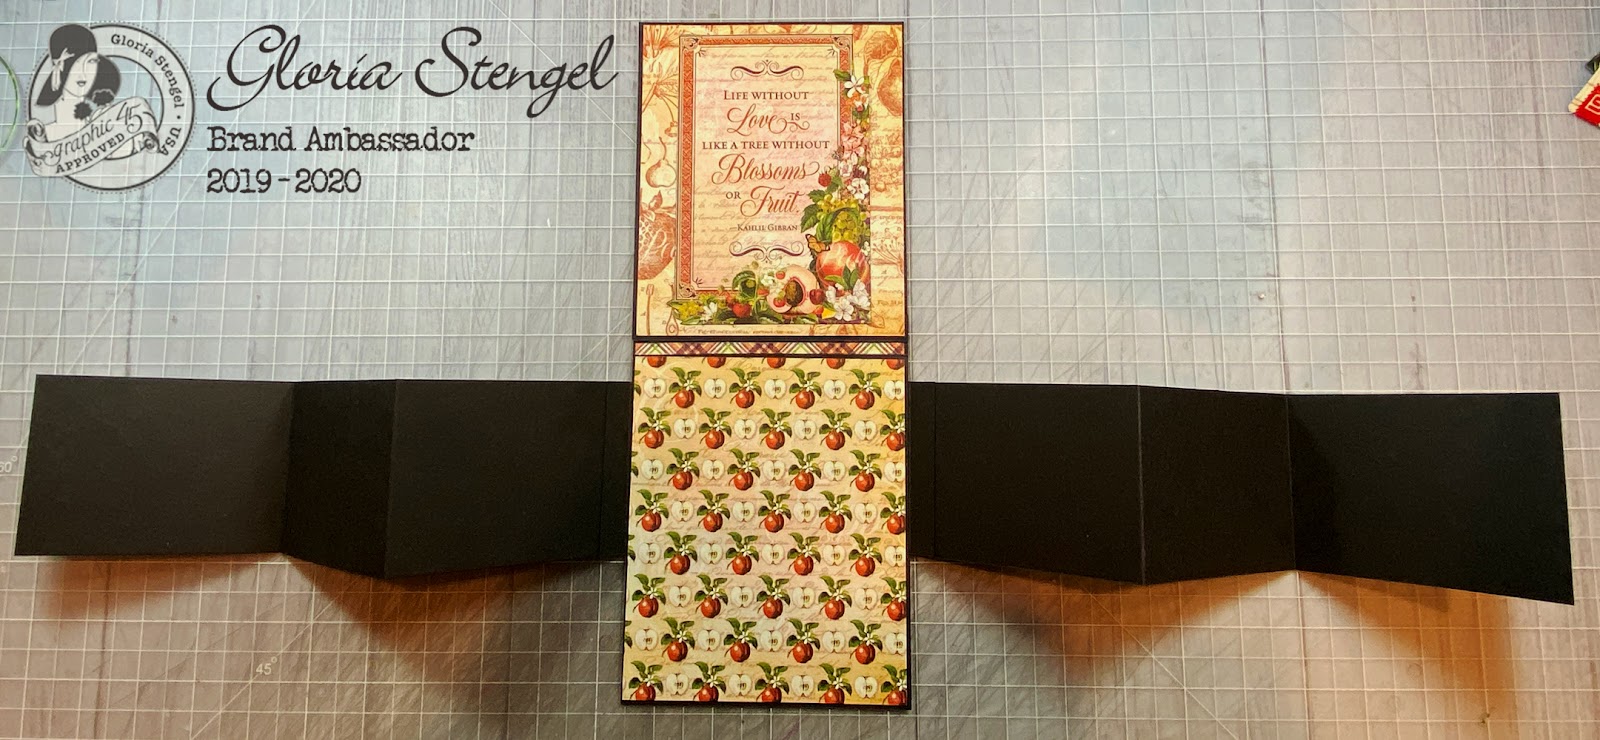
To create the fold out sections for the inside of the folio, cut two pieces of cardstock to 3” x 12” and score on the long side at 4” and 8”. This makes two accordion fold pieces.
Cut two pieces of cardstock to 3” x 1” and fold in half to make tabs. Place adhesive on the tabs as shown above.
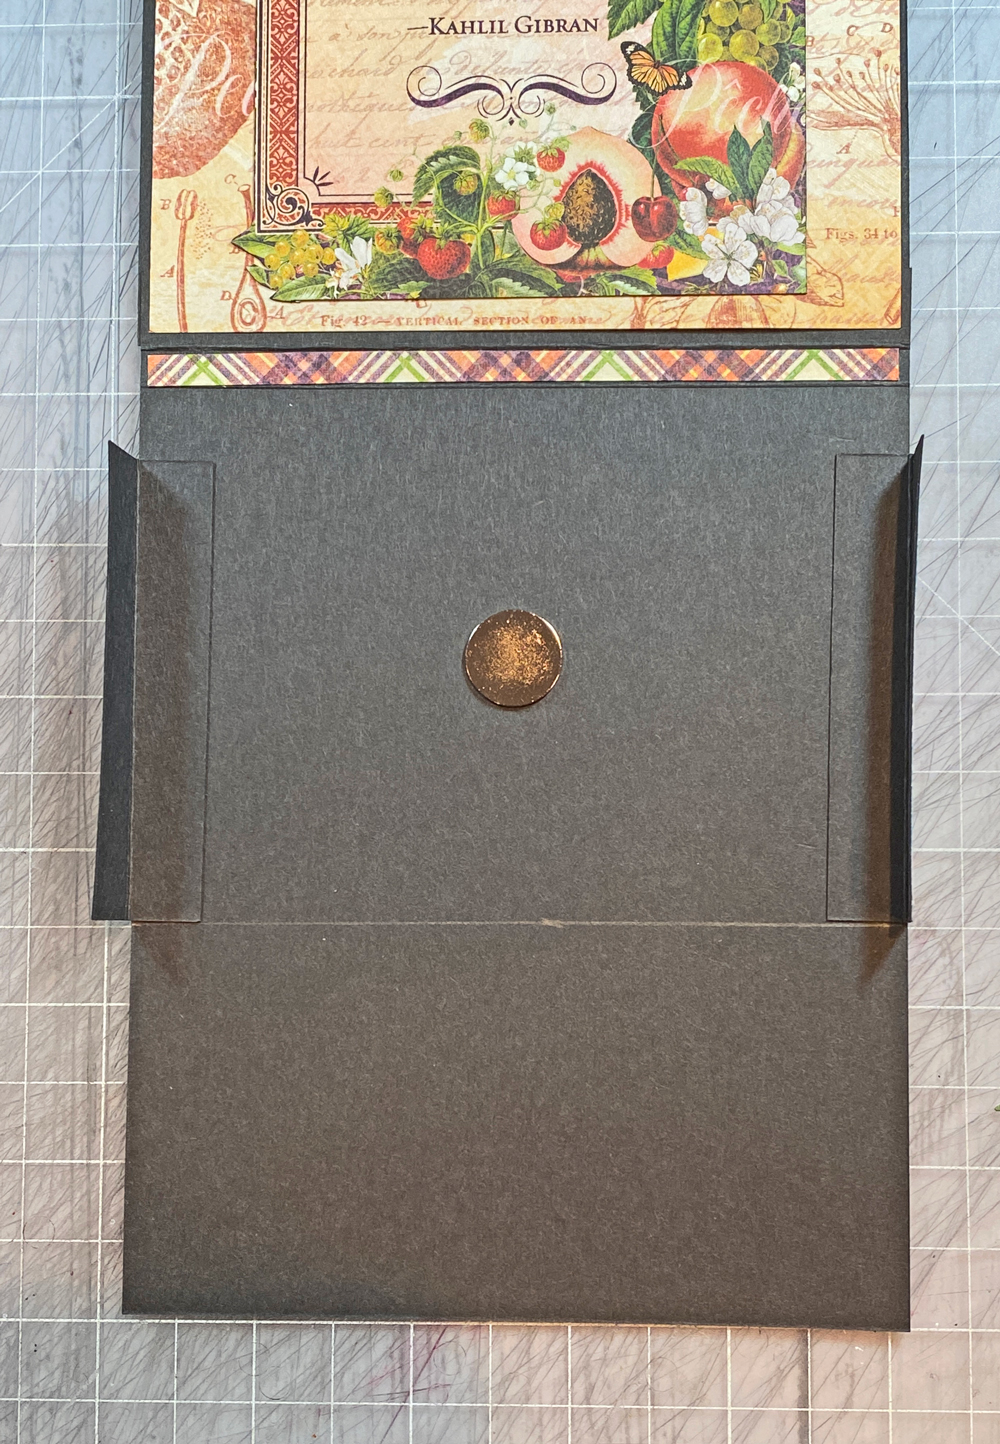
Attach the two tabs to the bottom panel, approximately ½” from the fold. Place a magnet onto the center of the panel.
Add decorative paper to the center panel, covering the tab edges and the magnet. Attach one of the accordion fold pieces to the left tab.
Attach the other accordion fold piece to the right tab, as shown above.
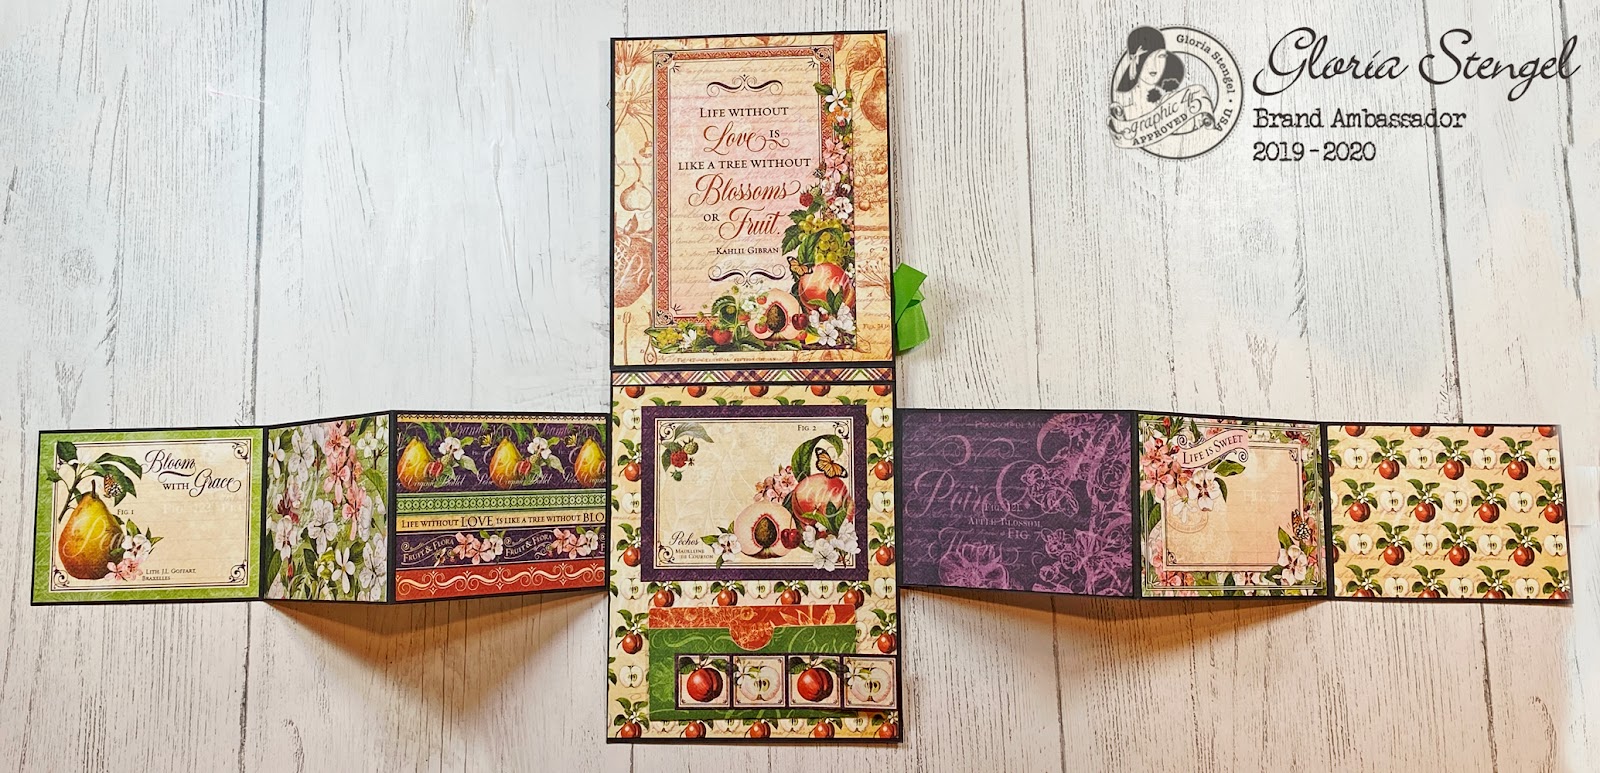
Decorate the center panel with a journaling card cut apart. Then create a gift card holder and attach it to the bottom of the panel, as shown.
Decorate the accordion fold panels with decorative paper and the ephemera and journaling cards. Make sure to attach a magnet to the left-most accordion panel.
When the panels are folded, with the left panels on top, the magnet will hold them all in place.
There is plenty of space to add photos or journaling, plus the gift card! This is such a versatile folio design!
Make sure to decorate both sides of the accordion fold panels. You may leave them blank as photo spots if you wish, but I like to decorate all the panels.
Have fun customizing your project!
Because one folio is not enough, I have created a second folio, in a different style!
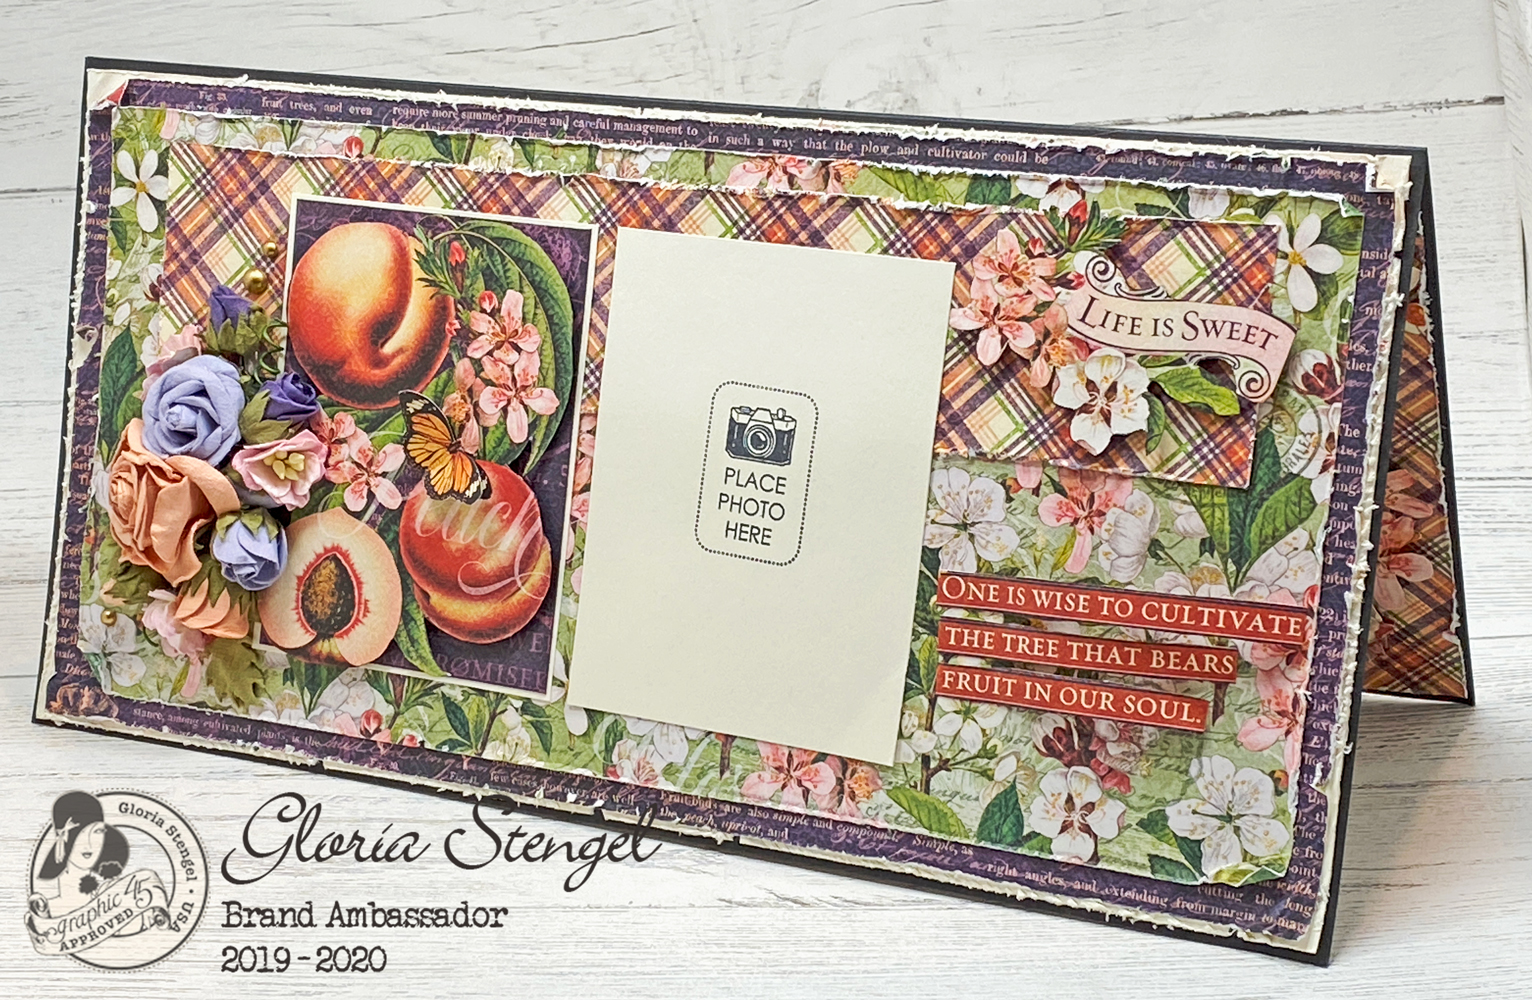
The 6” x 12” card folio is a fun size to create. You have a half-size scrapbook page on the front of the card, then you may create two more half-size pages inside, or one large page!
I created a folio that can hold six photos. This style is perfect for a special event such as a wedding or baby shower or a retirement party!
To create this size card, cut one piece of cardstock to 6” x 12”. Cut a second piece of cardstock to 6 ½” x 12” and score on the 12” side at ½” from the edge to create a tab. Attach the two pieces of cardstock together by the tab to create a card that is 6” tall and 12” wide with a top fold.
Trim your decorative papers and photo mats as desired. I decided to distress all the edges of my decorative papers for a vintage, shabby look.
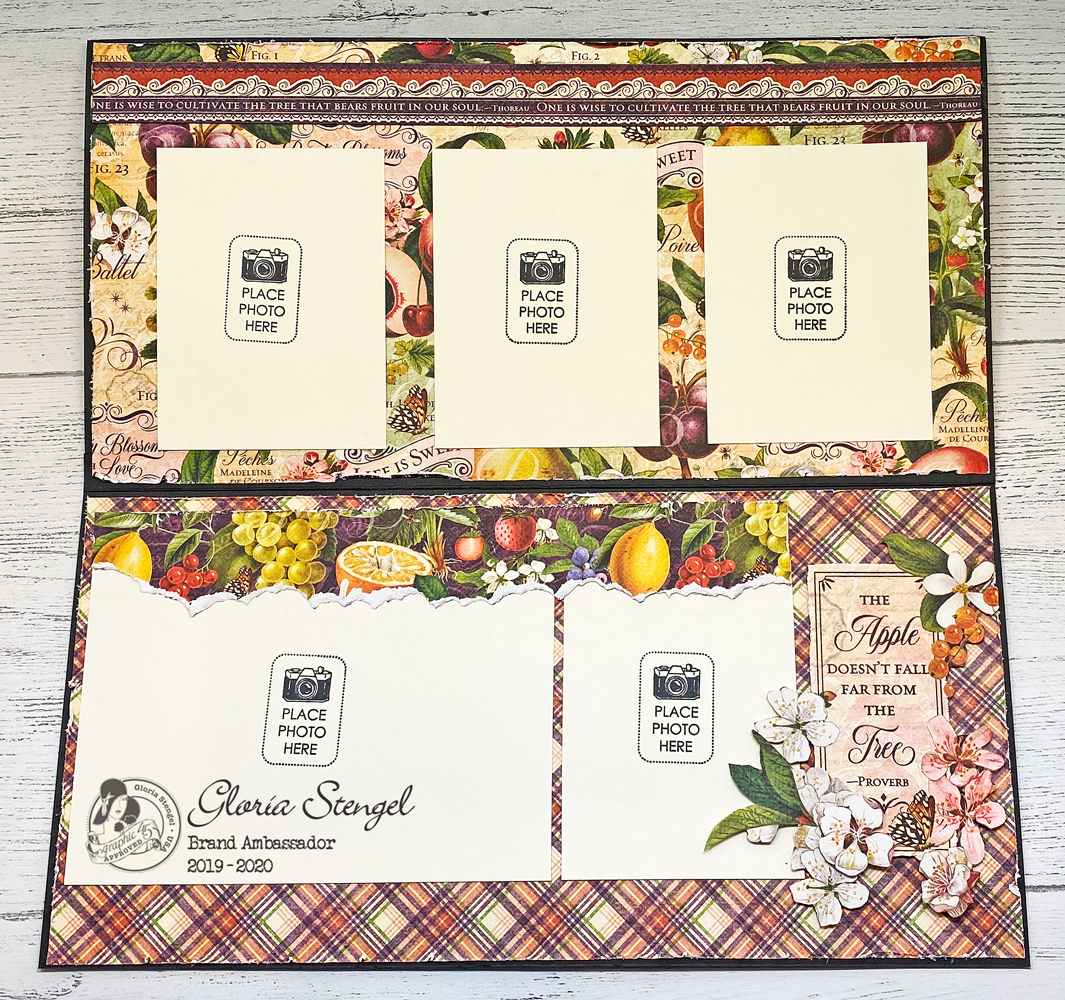
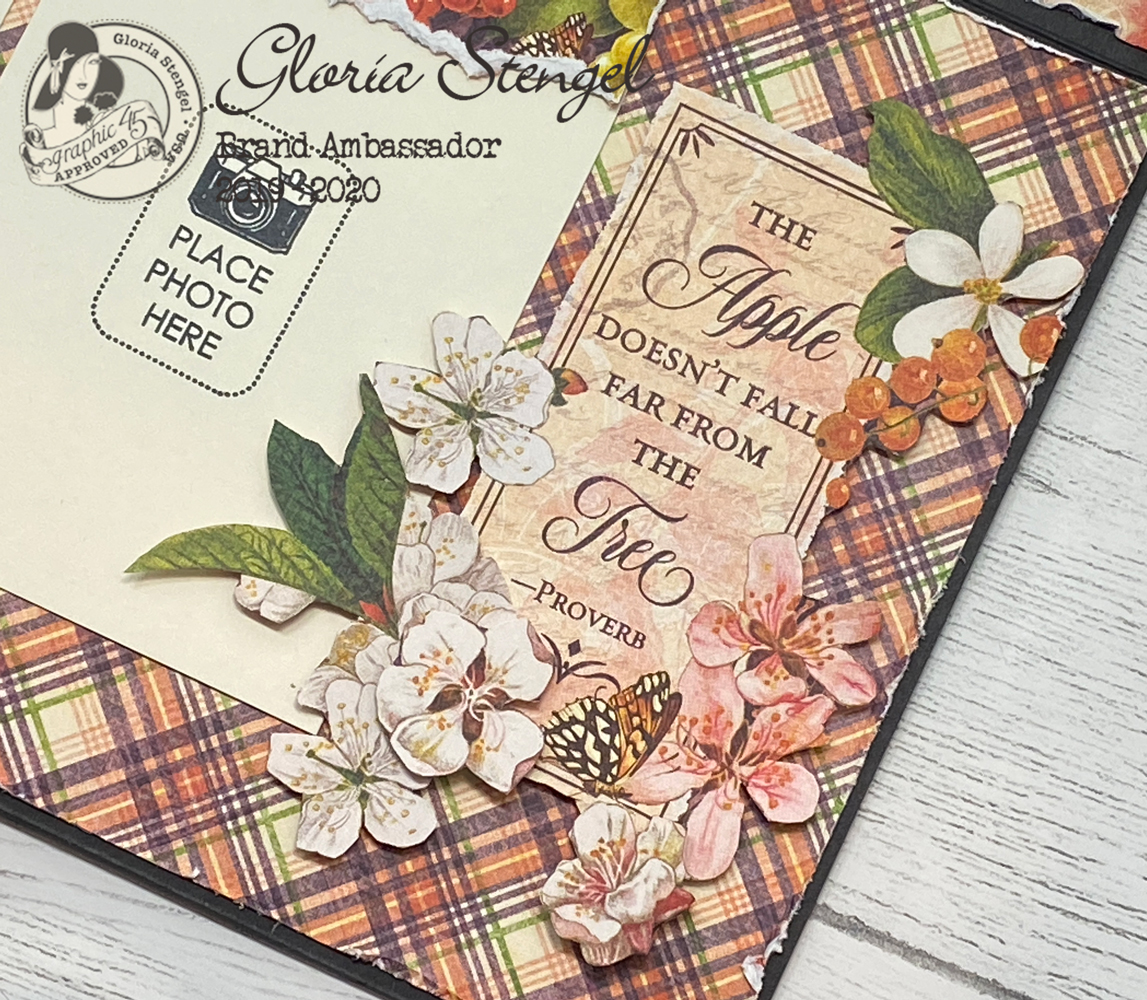
Add extra interest to your card by fussy cutting various elements from the paper.
Adding fussy cut images to the inside of the card gives a lot of interest without a lot of bulk. This collection is jam-packed with images which are perfect for fussy cutting!
Adding dimensional decorations to the front of the card makes it extra special. I chose to add French Lilac and Purple Royalty Roses, Precious Pink Roses, and Matte Pearl Gems, plus some of the fussy cut images.
Thanks for joining me today! I hope you have fun with this lovely, new collection!


Gloria these are absolutely amazing. I've never seen anything like this being made before, so the tutorials will be so useful, I can't wait to try them! Thank you so much and have a very happy week. xx
ReplyDeleteThis project is amazing, Gloria. The paper set is so richly colored. Your folio shows it at its best. Thanks for sharing this project and very helpful tutorial. Great step-by-step directions.
ReplyDeleteLove your luscious project and fold out!! Thanks for the tutorial!!
ReplyDelete