
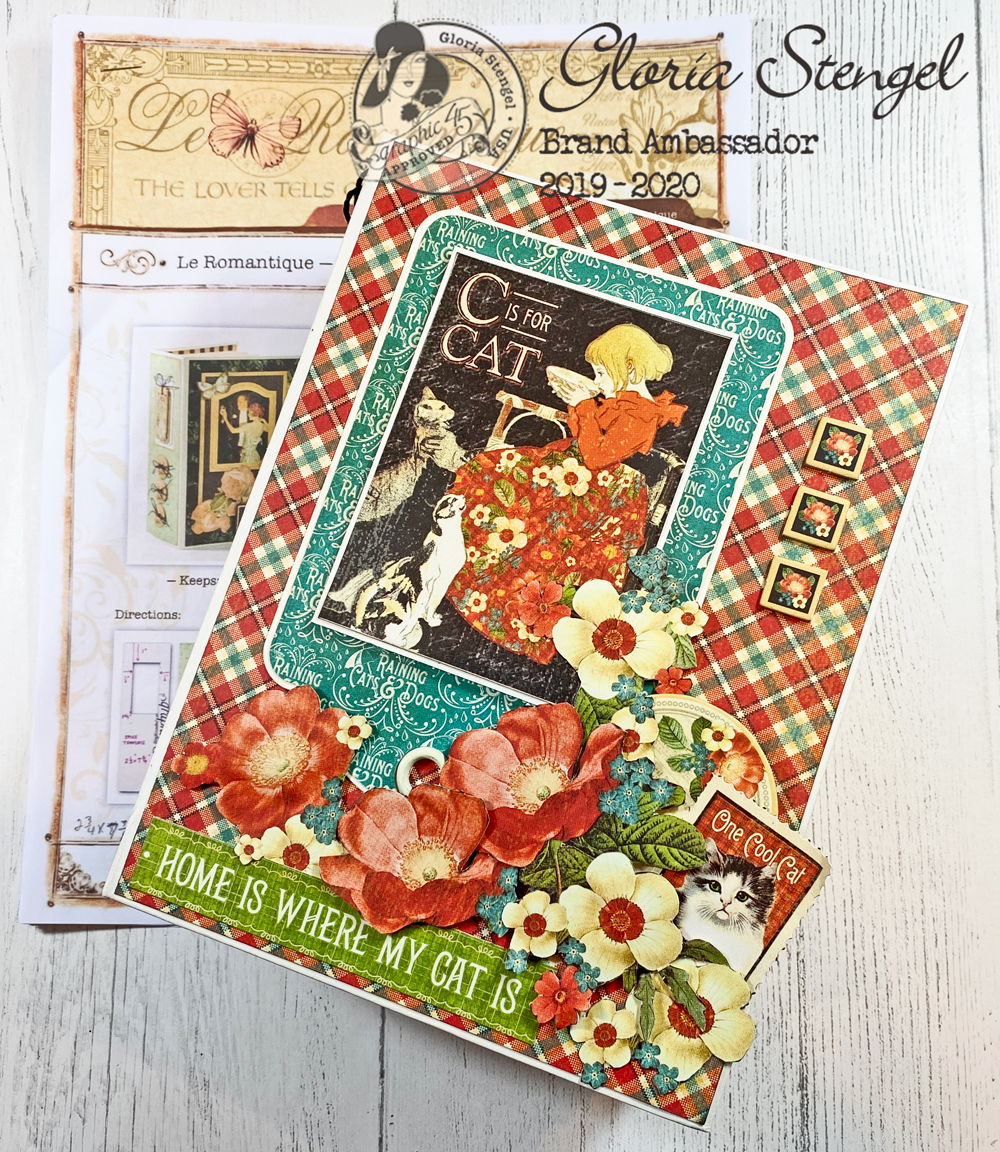

I chose to upcycle the project first by changing the paper collection. I chose to use Raining Cats and Dogs (Deluxe Collector’s Edition).
Besides needing two of the Raining Cats and Dogs DCE, you will need:
1 Rectangle Tag and Pocket Album in ivory. (The album comes with six (6) ivory regular size tags.)
16 sheets of ivory cardstock, 12” x 12” size (approximately)
2 square tags, ivory
3 additional regular tags, ivory
2 artist trading tags, ivory
1 large tag, ivory
Black twine
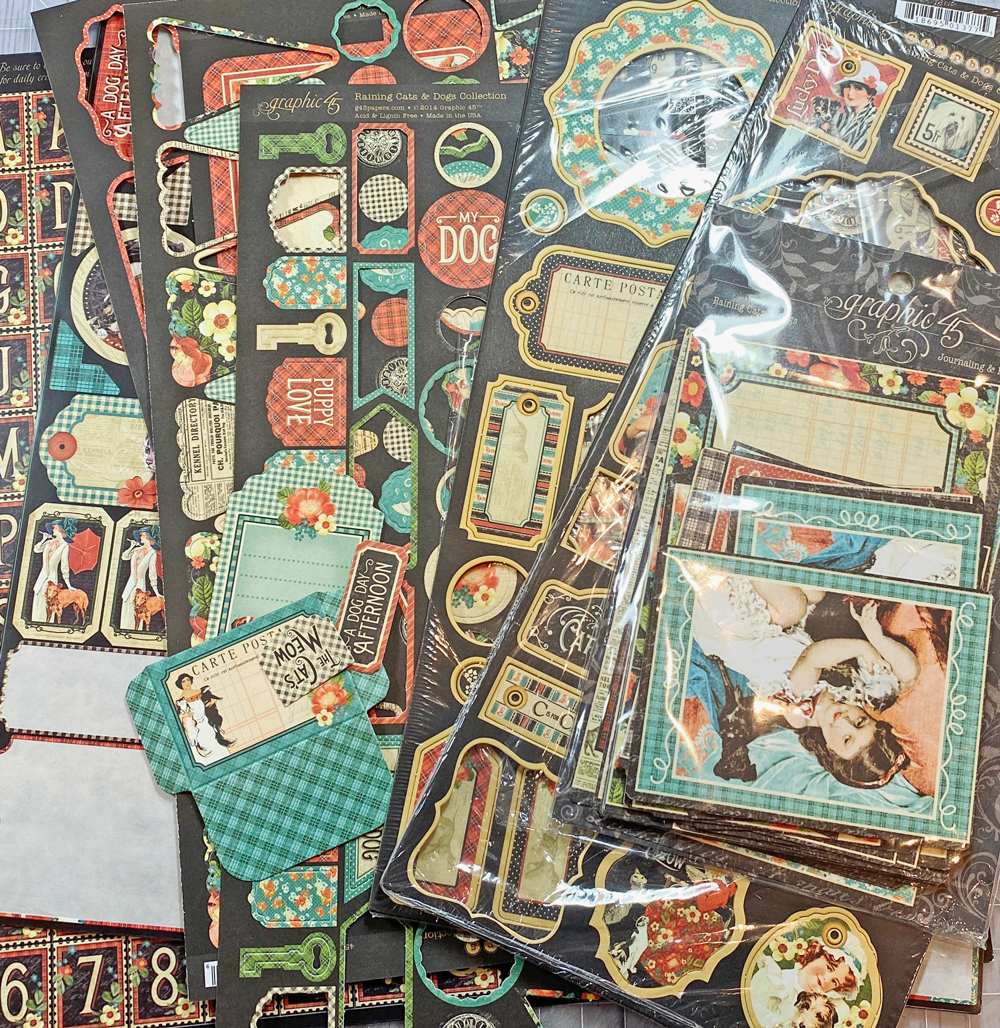
Tip: I highly recommend you remove one of each of the ephemera and cut apart sheets and cut those apart prior to beginning the project. There are three cut apart sheets in the Raining Cats and Dogs DEC (Four-legged Friend, Well Bred, Animal House). Set the cut aparts aside to use in the project. I also recommend that you save two Signature sheets as you will need a portion to fussy cut. Save one sheet of pet postage (Mr. Whiskers) and one sheet of the flowers (Cat’s Meow), also for fussy cutting
Follow the rest of the supply list from the original tutorial, linked above.
Tip: Using the original set of directions, label each of the papers from the original project with a number. For example, every time the original directions tell you to cut Le’ Romantique “Sending Flowers” paper, replace that with “pattern number 1.” Then label the Raining Cats and Dogs papers with numbers. Every time you see a “pattern number 1” in your directions, choose the Raining Cats and Dogs paper that you have labeled “pattern number 1.”
 Following the tutorial directions, I added paper to the outside covers of my album.
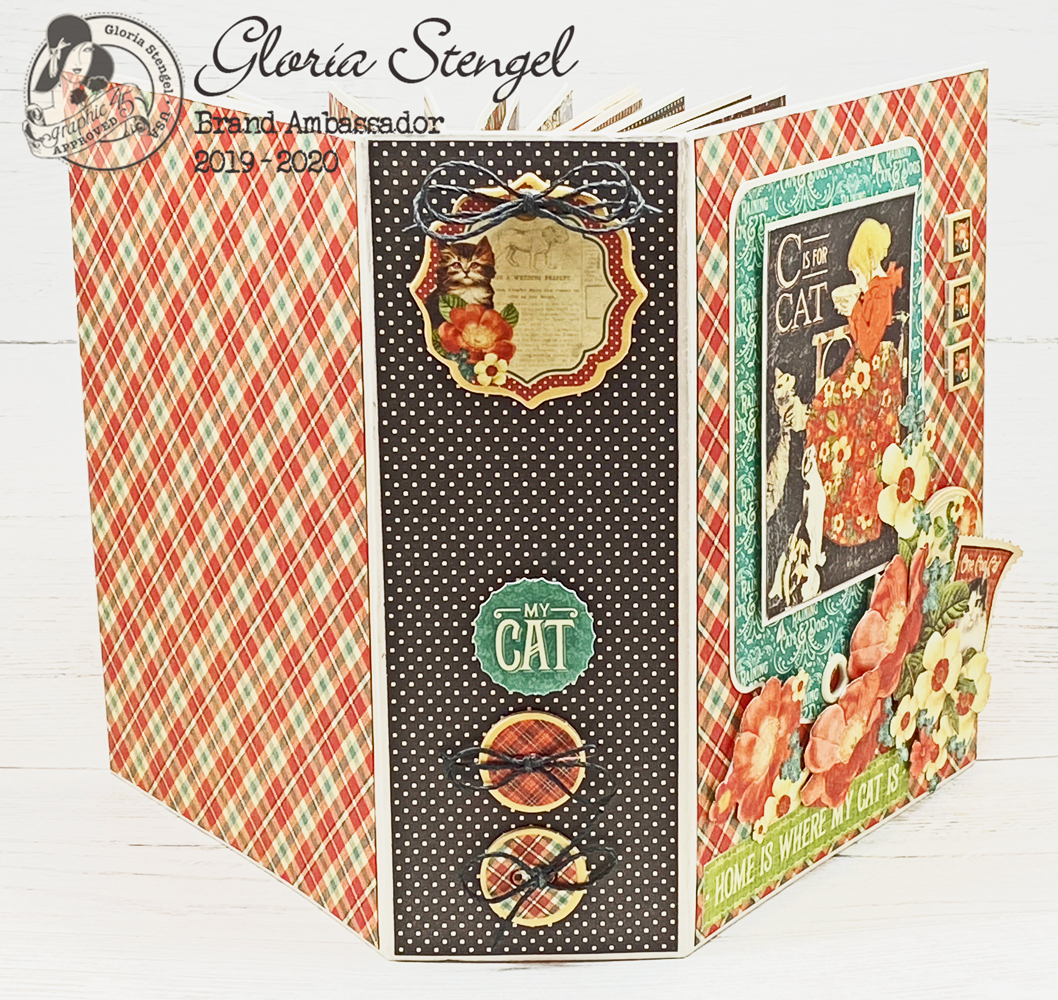
Tip: I chose to remove the metal label holder from the spine of the album. To do this, use a pair of pliers to GENTLY pry the holder from the spine. You have to be strong and gentle to accomplish this! Don’t worry if there is a little damage, because you are going to cover the album with paper.
I added some chipboard and punch out elements, tied with twine to the spine, just as described in the instruction sheet.
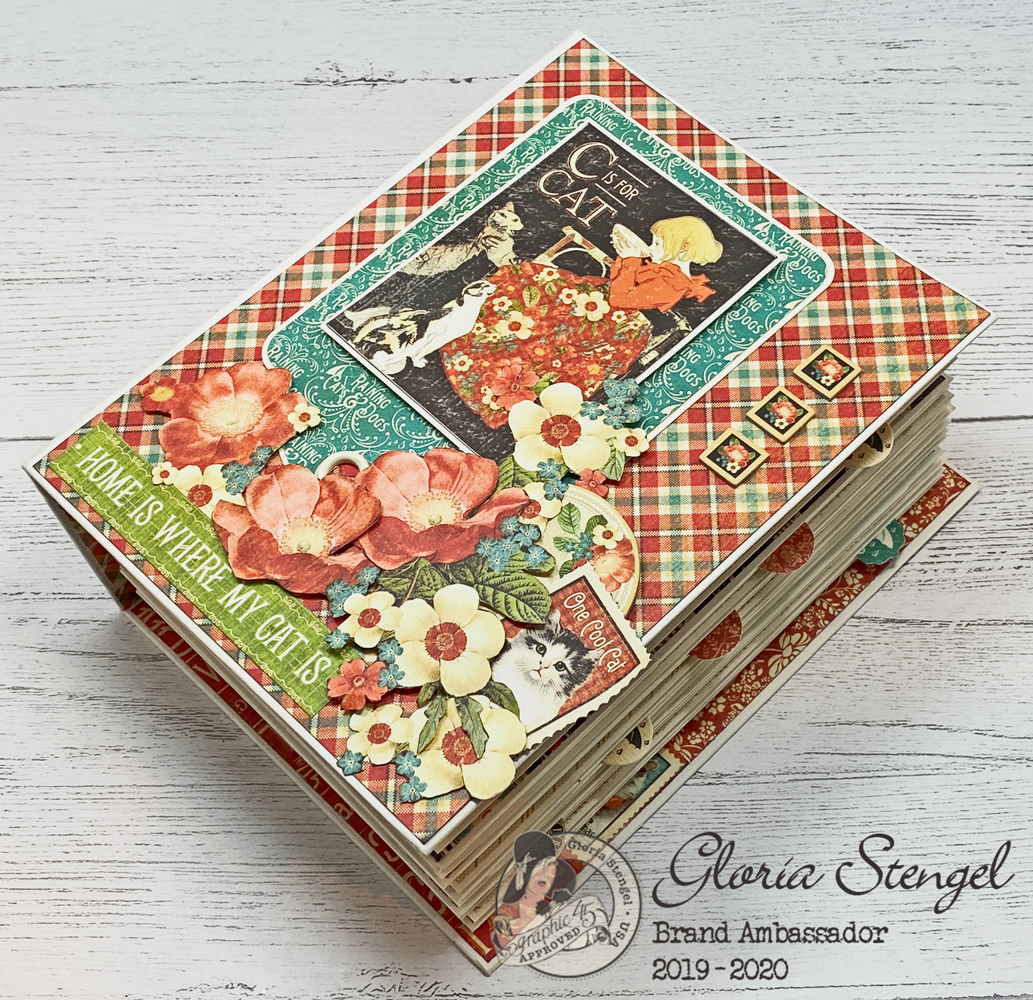
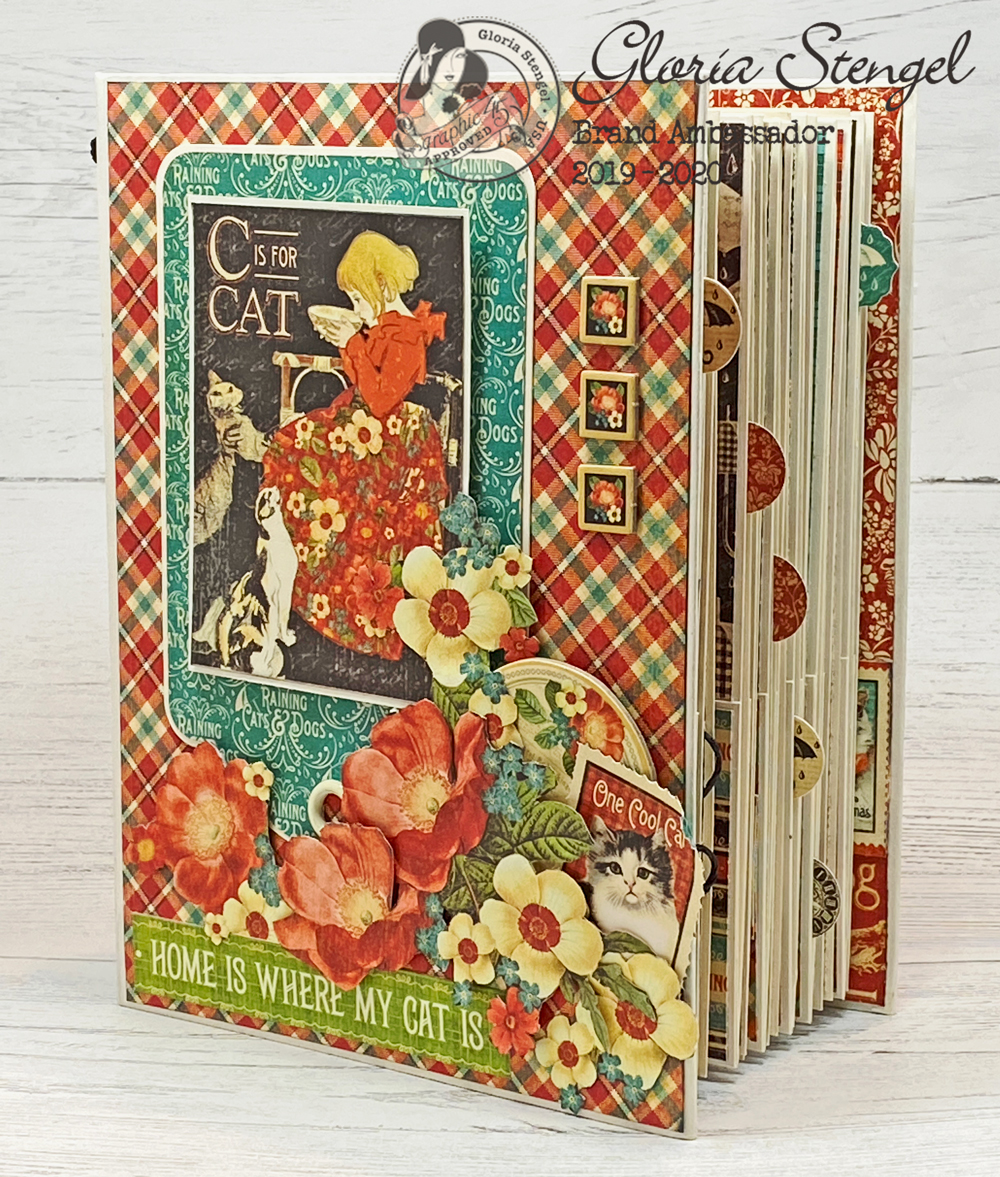 For my cover, I chose elements from the paper collection that were similar to what the directions called for, but since the paper collections are very different, I just chose what seemed the best for my theme - an album about my cats!
I used a regular tag, placed upside down as a mat for my main image. I fussy cut a lot of flowers from the “Cat’s Meow” paper, and then I added some chipboard elements, too.
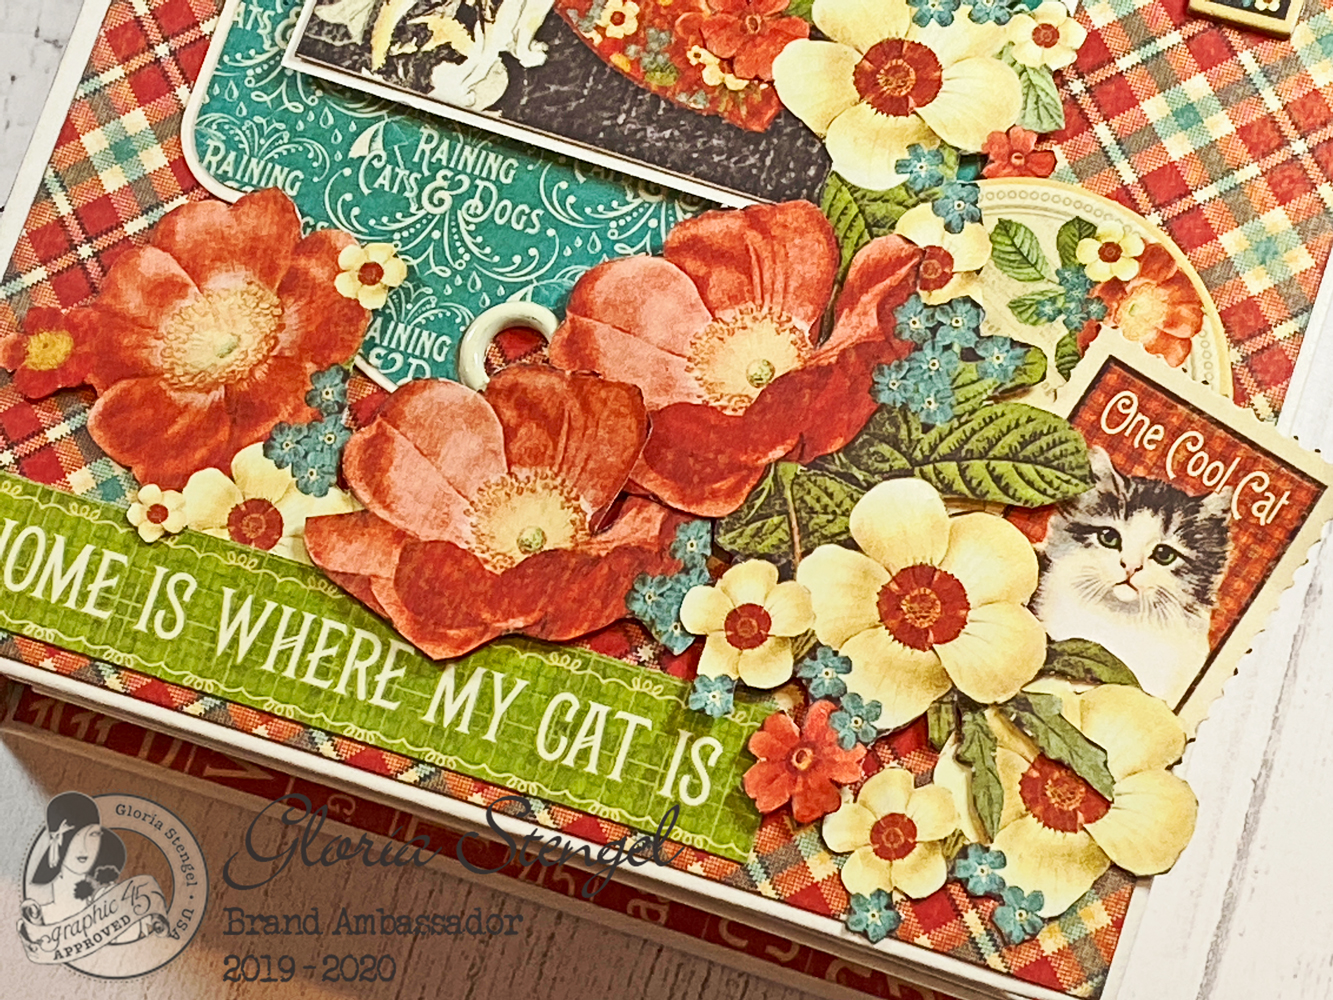 I used foam tape to pop up some of the fussy cut pieces. Since the project requires so much paper, I wanted to keep the extra supplies to a minimum. I think using the paper collection in various ways is a lot of fun! Fussy cutting is a great way to add lots of dimension and interest to a project.
Tip: I use a pair of sharp, pointed scissors to do my fussy cutting. Don’t worry about cutting everything perfectly! Once everything is glued into place, no one will notice if your cutting is not ultra-precise! You can run the tip of a marker around the edges of your shapes to hide any imperfections.
 I followed the directions to make a pocket for the inside front cover.
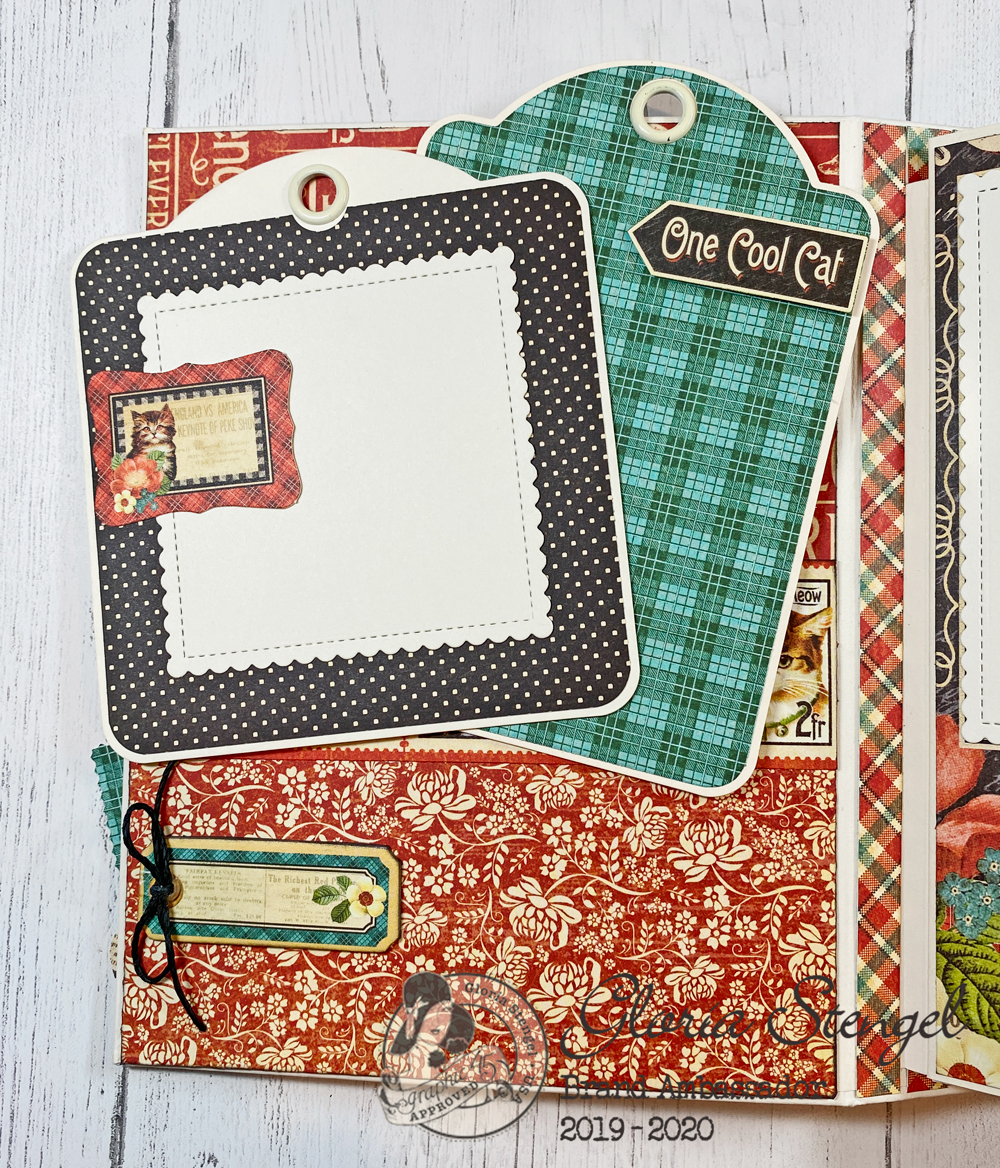 I placed two tags into the pocket, a square and a regular size.
Tip: I used the Tag Dies to cut paper for all the tags in the album, except for the square tags. I had an older style of square tag and the die does not cut the paper the correct size for these older tags. I simply cut paper to fit the middle part of the tag, and rounded the corners of the paper. You can do this with ALL the tags in the project if you do not have access to the tag dies.
 I followed the original directions to cut the paper for the right and left hand pages, pockets, and above pockets pieces. I did not cut any of the borders or other decorative strips ahead of time. I also did not add any of the hinged or scored pages described in the instructions, so you can skip those.
I chose to “upcycle” my project by adding ivory photo mats to the pages and tags. Many folks complain that, while they love the LOOK of mini albums, they can never understand where to place their photos! I think it is important to add photo mats to mini albums, especially those given as gifts.
Tip: Since I used the tag dies, I did not use the measurements to cut the paper for the tags. I decorate both sides of my tags, so I cut two pieces of paper for each tag.
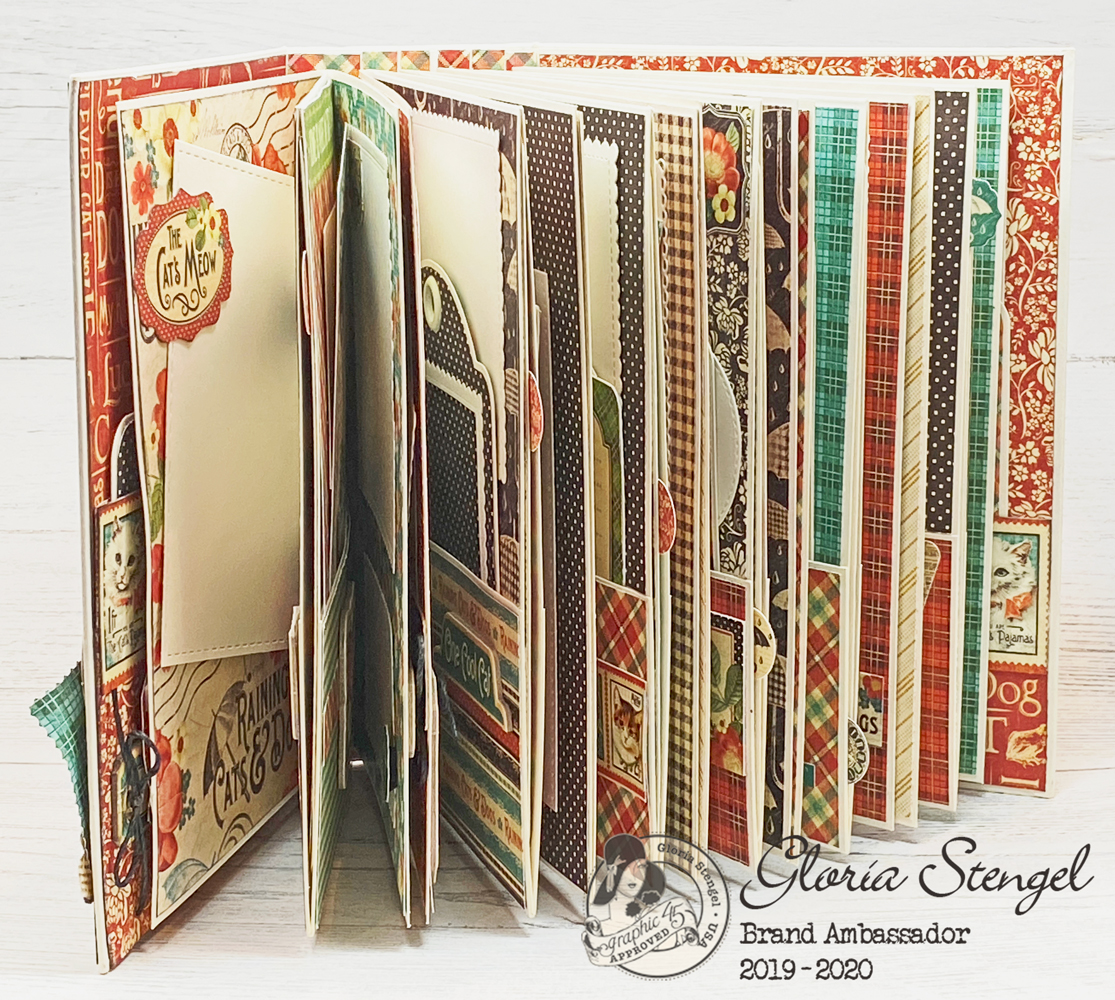
I used the original directions loosely for ideas on how to decorate each page.
This album has 36 pages! I did not photograph each page. To see every page of my album, view the video linked below.
Tip: Make sure you pay attention to the directional papers! You don’t want to end up with papers cut sideways or upside down!
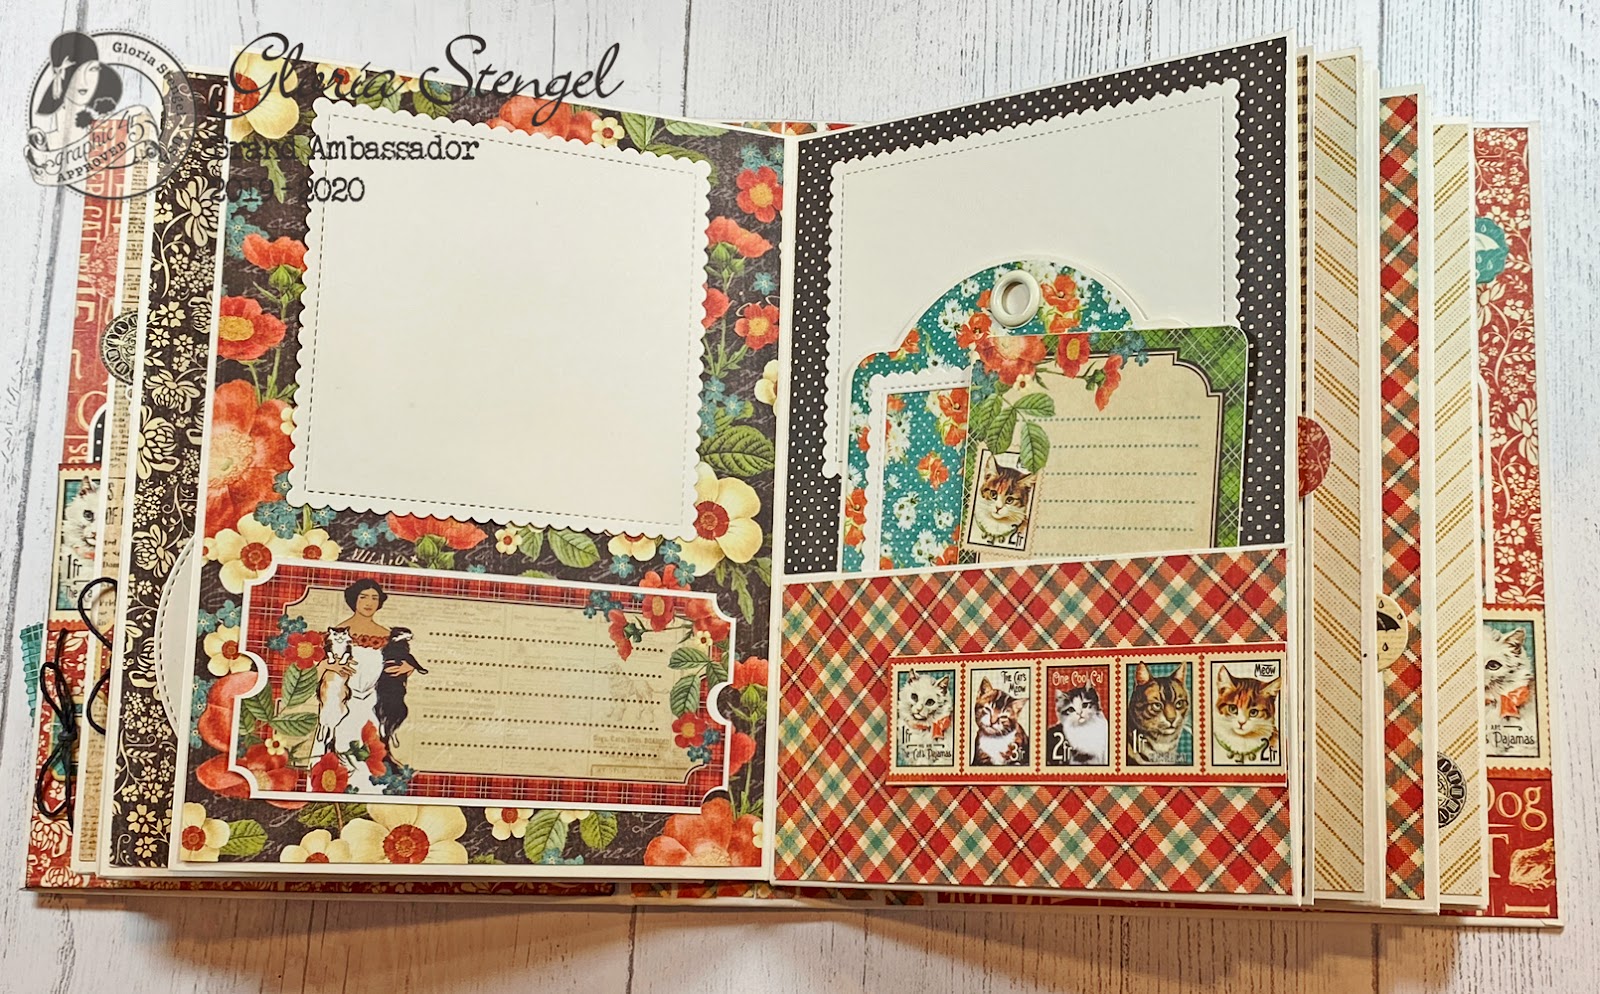
 Page 1. I used a portion of two of the Signature sheets to create this pop-up element for page one. I fussy cut the kittens from the second sheet and popped them up! It is easy to slip a photo behind the popped up images.
Tip: Another way I “upcycled” the original project was to add paper strips to the gutters between pages. I felt there was too much white space between each page set, so I cut some paper strips to add to those gutters. In this way I was also able to cover a bit of damage that happened when I removed the metal label from the spine of the album.
 Page 3. Each pocket page of the album also has a side pocket! I created a large photo mat for each of these pockets. Each photo mat is 7” x 5” and has rounded corners. I cut these from ivory cardstock. I added printed paper to BOTH sides of the photo mat, cut to 6 ⅞” x 4 ⅞”, also with rounded corners. I added a little decorative circle to the edge of each photo mat, making them easy to pull out.
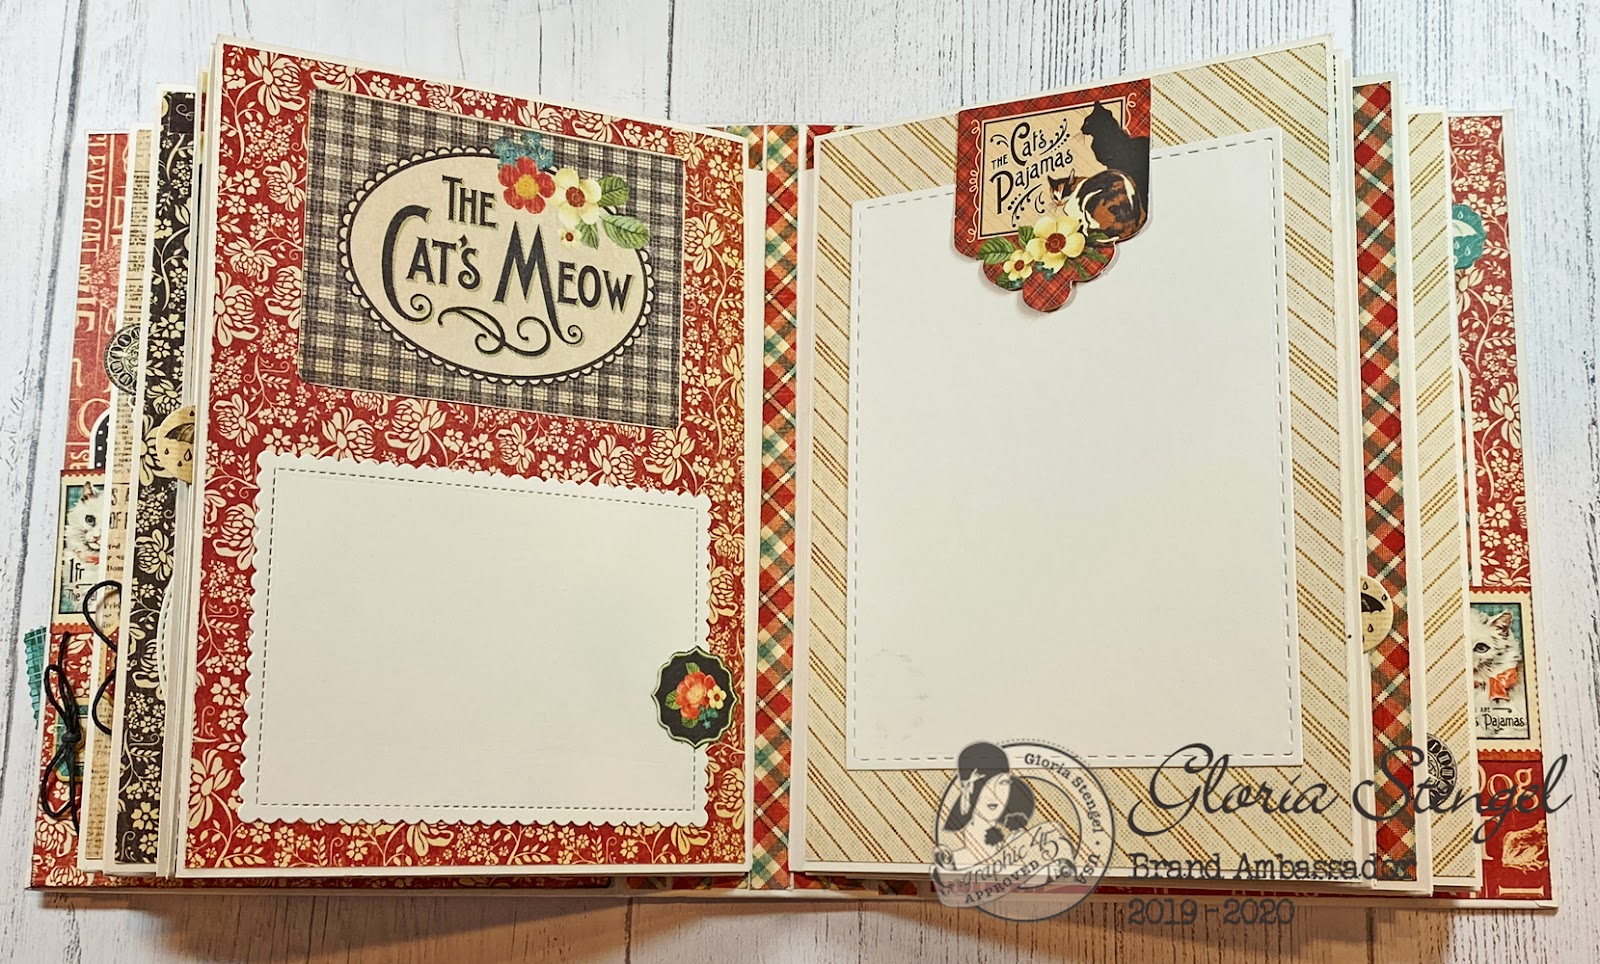
 Pages 8 and 9. As you can see, I added photo mats throughout the album. I have used portrait and landscape mats, as well as circular mats!
 Pages 14-15. I also added some square photo mats. Each pocket also contains tags or other items. This album has a lot of pages, and lots of room for photos and memorabilia! I decorated with all the various stickers, chipboard, and cut aparts. (Since I also had the full original collection you will see banners, plus tags and pockets.)
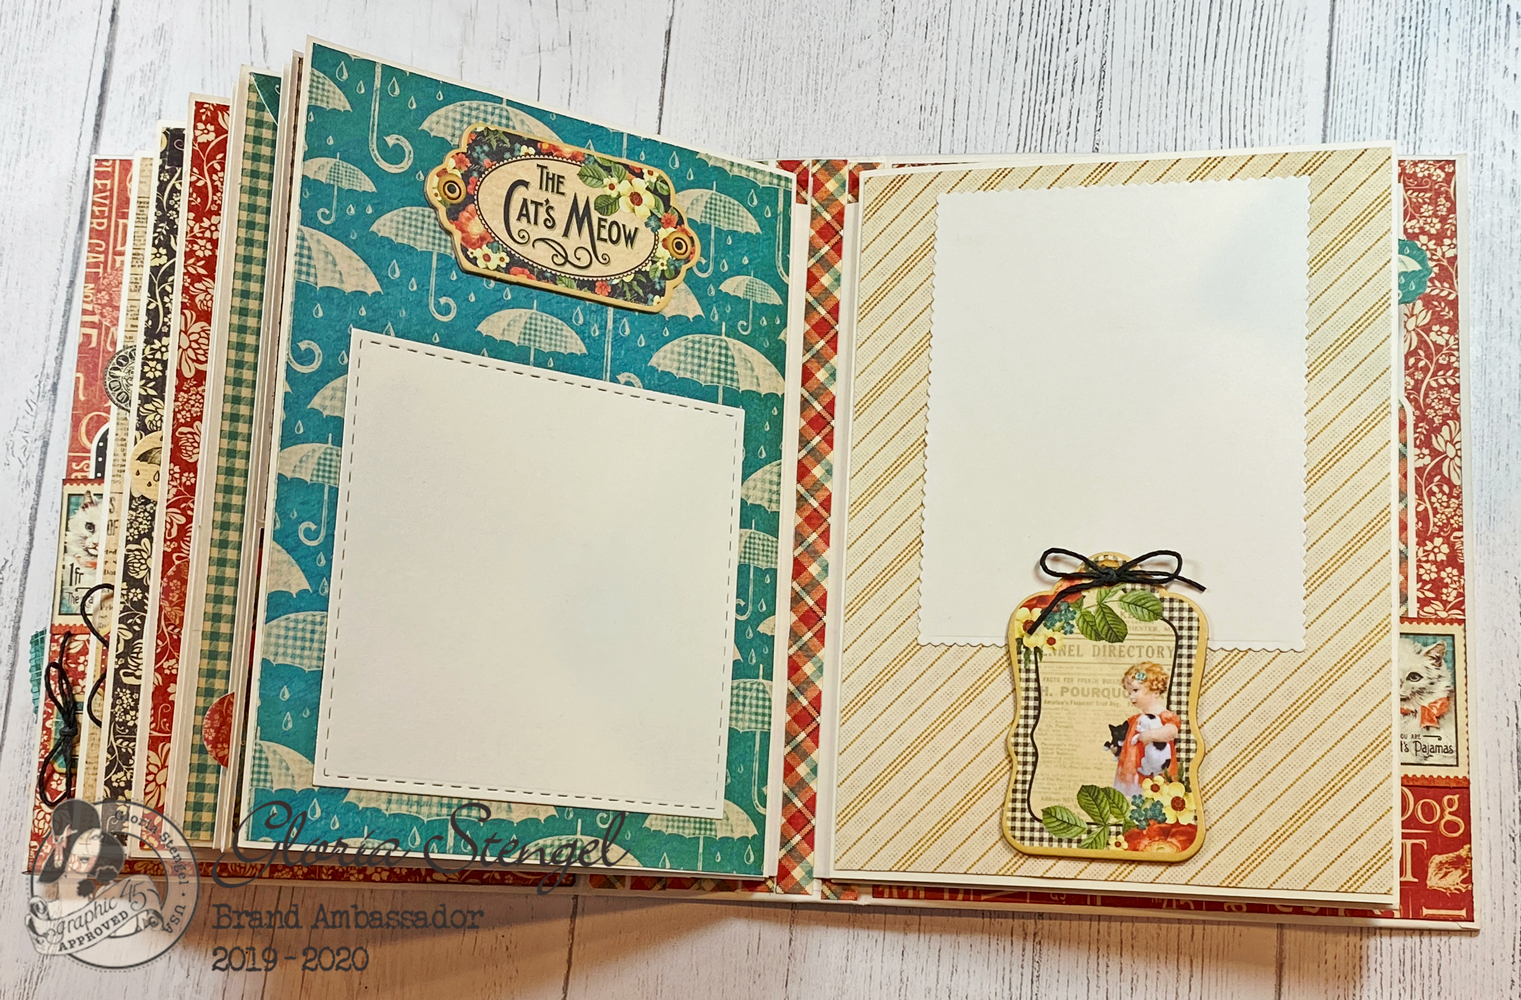
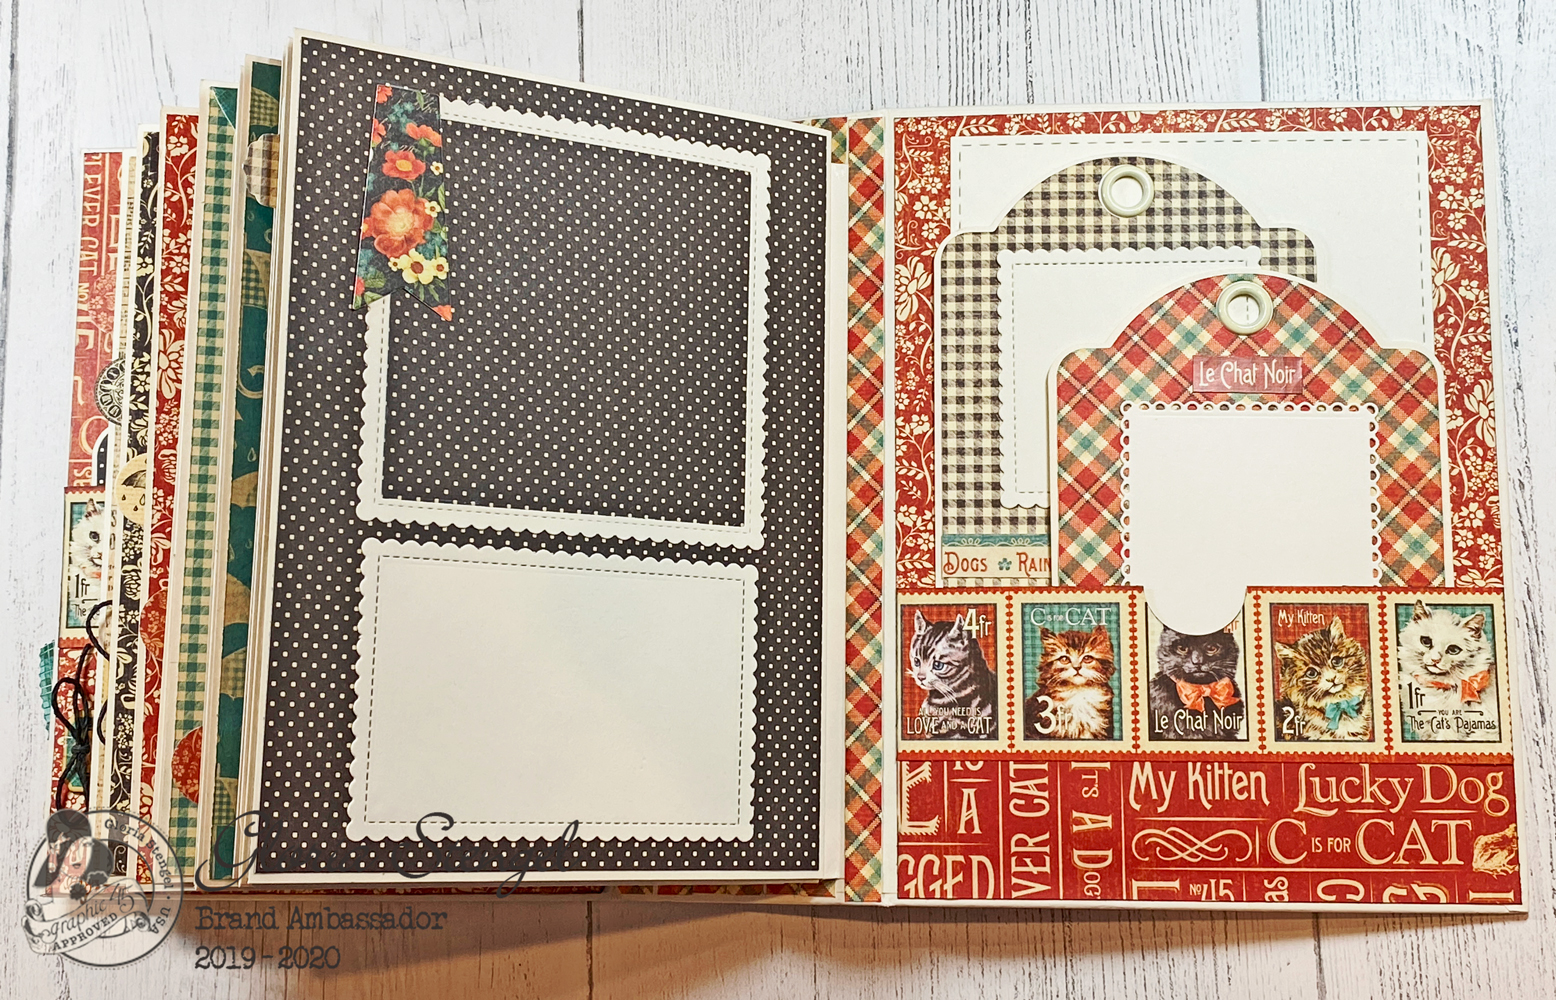
 Pages 18-19. Some pages have a large photo mat to fit 7” x 5” photos. Every “tuck spot” allows for a photo to be slid under it.
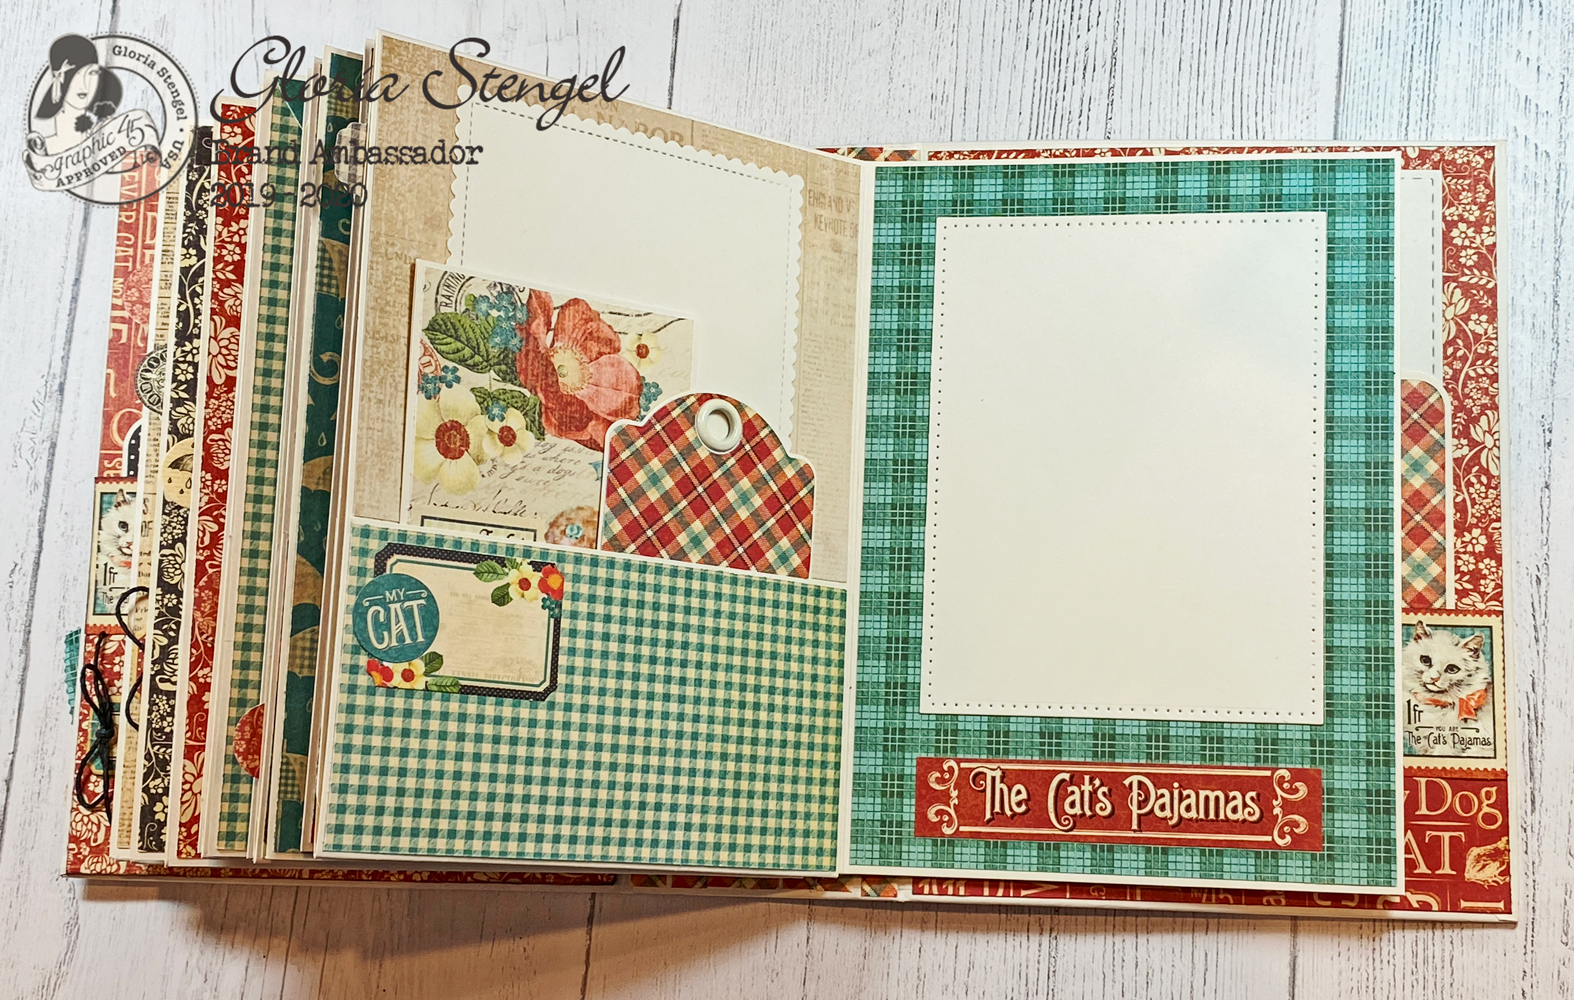
 Pages 24-25. I also combined different styles of photo mats, and even added a few frames.
 Pages 30-31. The chipboard is so amazing to use to decorate the pages! For most of the chipboard pieces, I tied on a bit of black twine.
 Pages 34-35. Remember, to see EVERY page, view the video linked below!
 I followed the original directions to make a pocket for the inside back cover.

Thanks for watching!
16 sheets of ivory cardstock, 12” x 12” size (approximately)
2 square tags, ivory
3 additional regular tags, ivory
2 artist trading tags, ivory
1 large tag, ivory
Black twine
Tip: I highly recommend you remove one of each of the ephemera and cut apart sheets and cut those apart prior to beginning the project. There are three cut apart sheets in the Raining Cats and Dogs DEC (Four-legged Friend, Well Bred, Animal House). Set the cut aparts aside to use in the project. I also recommend that you save two Signature sheets as you will need a portion to fussy cut. Save one sheet of pet postage (Mr. Whiskers) and one sheet of the flowers (Cat’s Meow), also for fussy cutting
Follow the rest of the supply list from the original tutorial, linked above.
Tip: Using the original set of directions, label each of the papers from the original project with a number. For example, every time the original directions tell you to cut Le’ Romantique “Sending Flowers” paper, replace that with “pattern number 1.” Then label the Raining Cats and Dogs papers with numbers. Every time you see a “pattern number 1” in your directions, choose the Raining Cats and Dogs paper that you have labeled “pattern number 1.”
Tip: I chose to remove the metal label holder from the spine of the album. To do this, use a pair of pliers to GENTLY pry the holder from the spine. You have to be strong and gentle to accomplish this! Don’t worry if there is a little damage, because you are going to cover the album with paper.
I added some chipboard and punch out elements, tied with twine to the spine, just as described in the instruction sheet.
I used a regular tag, placed upside down as a mat for my main image. I fussy cut a lot of flowers from the “Cat’s Meow” paper, and then I added some chipboard elements, too.
Tip: I use a pair of sharp, pointed scissors to do my fussy cutting. Don’t worry about cutting everything perfectly! Once everything is glued into place, no one will notice if your cutting is not ultra-precise! You can run the tip of a marker around the edges of your shapes to hide any imperfections.
Tip: I used the Tag Dies to cut paper for all the tags in the album, except for the square tags. I had an older style of square tag and the die does not cut the paper the correct size for these older tags. I simply cut paper to fit the middle part of the tag, and rounded the corners of the paper. You can do this with ALL the tags in the project if you do not have access to the tag dies.
I chose to “upcycle” my project by adding ivory photo mats to the pages and tags. Many folks complain that, while they love the LOOK of mini albums, they can never understand where to place their photos! I think it is important to add photo mats to mini albums, especially those given as gifts.
Tip: Since I used the tag dies, I did not use the measurements to cut the paper for the tags. I decorate both sides of my tags, so I cut two pieces of paper for each tag.
I used the original directions loosely for ideas on how to decorate each page.
This album has 36 pages! I did not photograph each page. To see every page of my album, view the video linked below.
Tip: Make sure you pay attention to the directional papers! You don’t want to end up with papers cut sideways or upside down!
Tip: Another way I “upcycled” the original project was to add paper strips to the gutters between pages. I felt there was too much white space between each page set, so I cut some paper strips to add to those gutters. In this way I was also able to cover a bit of damage that happened when I removed the metal label from the spine of the album.
I used a regular tag and a large tag for this pocket. I did cut a little off the bottom of the large tag to make it fit!
To see a full walk through, visit the YouTube video below.
Thanks for watching!

Edited to add: I totally forgot to share a photo of my cats! How silly of me!


Graphic 45 Supplies Used:
Raining Cats and Dogs Deluxe Collector’s Edition
Rectangle Tag and Pocket Album - Ivory
Square Tags - Ivory
Regular Tags - Ivory
Artist Trading Tags - Ivory
Large Tags - Ivory
Regular Tag and Gears Dies
Large Tag, ATC Tag and Flower Dies
Square Tag and Clock Dies (optional)
Other Supplies Used:
Ivory cardstock
Black twine
Various photo mat dies
Adhesive
I am a huge cat lover and this album is so cute. I am going to have to make one for my kitties pictures. It is just the right size as I have 5 cats that will fill up this album in no time. Beautiful TFS
ReplyDeleteGloria, I absolutely LOVE your take on this project! What a fantastic cat album this is. Thank you so much for the mention. I’m honored to be an inspiration to one of my favorite inspirational designers. (YOU!)
ReplyDeleteGloria, your work and your tutorials are an inspiration and a lifesaver for crafters in quarantine. Thank you for all the time you must put into these. Stay Safe!
ReplyDelete