I am not sure fuchsias actually come in this pale, lavender-gray shade, but it sure looks fantastic on the card, right?! Monochromatic colors can lend elegance to a project. I used gray and white with pops of green and black.
To make this card, create a 5 1/4" x 7 1/4", top-fold card by cutting two pieces of black cardstock to 5 1/4" x 7 1/4". Score one piece of the black cardstock at 1/2" from the top, on the long side. Place double-sided adhesive above the score line and attach the second piece of cardstock to the scored tab. (The front panel will be 5 1/4" x 7 1/4". The inside panel will be 5 1/4" x 6 3/4" to allow for the "hinge" at the top of the card.)
Cut gray print paper from the Cascading Fuchsia Paper Collection to 5 1/8" x 7 1/8". Sponge the edges with peeled paint distress ink and attach the panel to the card front. Use the Spellbinders Fanciful Lattice die template to cut the lattice shape from black print
Use the Decorative Oval Die to cut two of the oval shapes from white cardstock. Trim one of the oval shapes in half on the long side. Glue half of the decorative oval to the left side of the card and the other half to the right side, centering the shape onto the lattice die cut. Trim approximately 2" from the top and the bottom of the second decorative oval. Glue the trimmed sections to the top and bottom of the card front, creating the illusion of a larger decorative oval shape.
Stamp the image from the Fuchsia Clusters Cling Stamp Set onto white cardstock with brown ink. (The brown ink will give a softer look to the flowers once they are colored.) Color the image with Copic markers. Trim the image to approximately 3" x 5" and sponge the edges with gray chalk ink. Mat the image with black cardstock cut to 3 1/8" x 5 1/8".
Cut green paper from the Cascading Fuchsia Paper Collection to 3 1/4" x 5 1/4". Attach the matted image to the green paper with foam adhesive. Attach the matted panel to the center of the card front with foam adhesive, making sure to cover the open spaces where you spliced the decorative oval together.
Create a bow from gray plaid ribbon and glue to the top of the image as shown. Stamp the sentiment from the Heartfelt Sentiments Cling Stamp Set onto white cardstock with black ink. Trim out the sentiment and sponge the edges with gray chalk ink. Mat the sentiment with black cardstock and attach it to the right edge of the card with foam adhesive
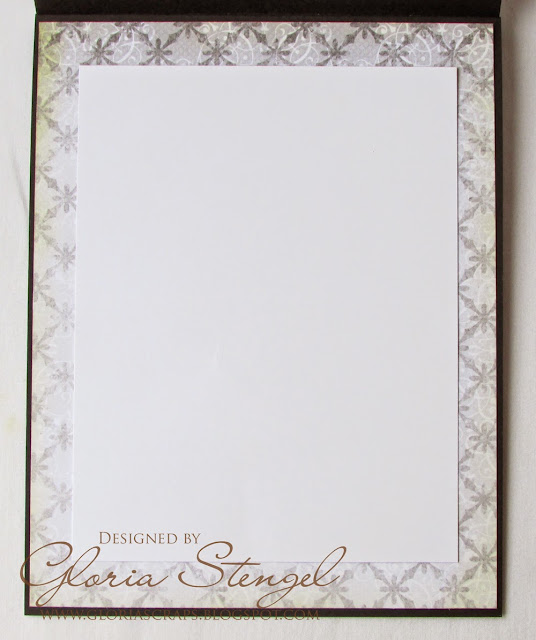
Decorate the inside of the card by first trimming a gray panel from the Cascading Fuchsia Paper Collection to 5 1/8" x 6 1/2". Sponge the edges with peeled paint distress ink and attach the panel to the inside of the card. Trim white cardstock to 4 1/4" x 5 1/2" and attach the panel to the inside of the card.
Products Used:
Other Products Used:
Other dies: Spellbinders Fanciful Lattice
Cardstock: WorldWin Papers Black, Stampin' Up Whisper
White, Copic X-Press It Blending Card
Ink: Ranger Peeled Paint
Distress, Clearsnap Colorbox Gray Whale Chalk
Markers: Copic alcohol markers
(BG10, YG11, YG67, Y06, Y11, G21, BV02, BV20, BV23, BV29, C00, colorless
blender)
Ribbon: Really Reasonable Ribbon gray plaid ribbon
Tools: Sizzix Big Shot, Spellbinders
Grand Calibur, My Sweet Petunia MISTI, hot glue gun
Adhesive: Scotch 3M ATG tape,
Scrapbook Adhesives by 3L 3D Foam Squares, Aleene's Quick Dry Tacky Glue, hot
glue sticks


lovely colouring great colour combo.
ReplyDeleteStunning card Gloria! What a great choice of colors and such a beautiful and so perfect bow!!! Love it!!! Ha ve a wonderful day :)
ReplyDeleteSo beautiful. I love how you colored the flowers.
ReplyDeleteWonderful coloring and choice of colors. Such a versatile flower, I just love how your card came out!
ReplyDeleteGorgeous Gloria. I love the soft gray palette, it's perfect! I am so glad I'm not the only one who sees "out of the box" colored flowers! Hugs
ReplyDeleteLove this stunning card........
ReplyDeleteSo elegant Gloria!! Absolutely beautiful!
ReplyDeleteI love this card! The coloring is exquisite, and the ribbon choice is spot on. Love the layered dies and the elegant simplicity. You sure do know how to make a card!
ReplyDeleteBeautiful combo of the dies and soft coloring of the image!
ReplyDeleteSuch a pretty soft card Gloria! Great design and I love your gingham bow!
ReplyDeleteHi, I love the color choice this week. The die cut backgrounds are great in this card. Hugs
ReplyDeleteGloria, I love the color palette on this card! The ribbon is just perfect!
ReplyDeleteHugs,
Tracey