

At the end of the hop, comment on the RRR Blog post, answering the question listed, for a chance to win the February Ribbon Club Assortment shown below. (The Design Team appreciates your comments, too!)

Before we get to my project for today, I wanted to explain how I ended up where I did. Two things happened to create the perfect project storm for this month's project.
The first thing that happened is, that while I was digging into some bins of old projects, trying to decide what to do with them, I found a few that I thought would make great NEW projects. By recreating some of these older projects with updated techniques and papers, I can have some new projects to share. In essence, I decided to copy off myself!
The second thing that happened is...well...Pinterest. I had been looking at some ribbon embroidery, for no reason whatsoever. I had also been looking at some weaving projects, because a friend was pinning some weaving projects and...well, you know how you can see stuff that your friends pin....and long story long, you get sucked in.
The next day, Pinterest felt that I would - maybe, possibly, perhaps - enjoy seeing some pins about...you guessed it, ribbon weaving! A few of the projects that I saw were of hard-bound books with ribbon weaving on the front cover. I decided...hey let's try that!


Let's get started! We will work on the outside covers last.

Attach the chipboard pieces to the center of 8 1/2" x 11" black cardstock. Make sure to have a 1/8" gap between the spine piece and the cover pieces. Angle the corners of the cardstock and apply strong, double-sided adhesive to the tabs.


Cut purple print paper to 6 1/8" x 2" and attach to the spine area. Carefully bend the book covers while gently scoring the spine gutters. Do not press too hard or the paper may tear.


Flip the pocket over and add 1/2" tabs to the three edges of the pocket. This will allow for slipping thicker items into the pocket.


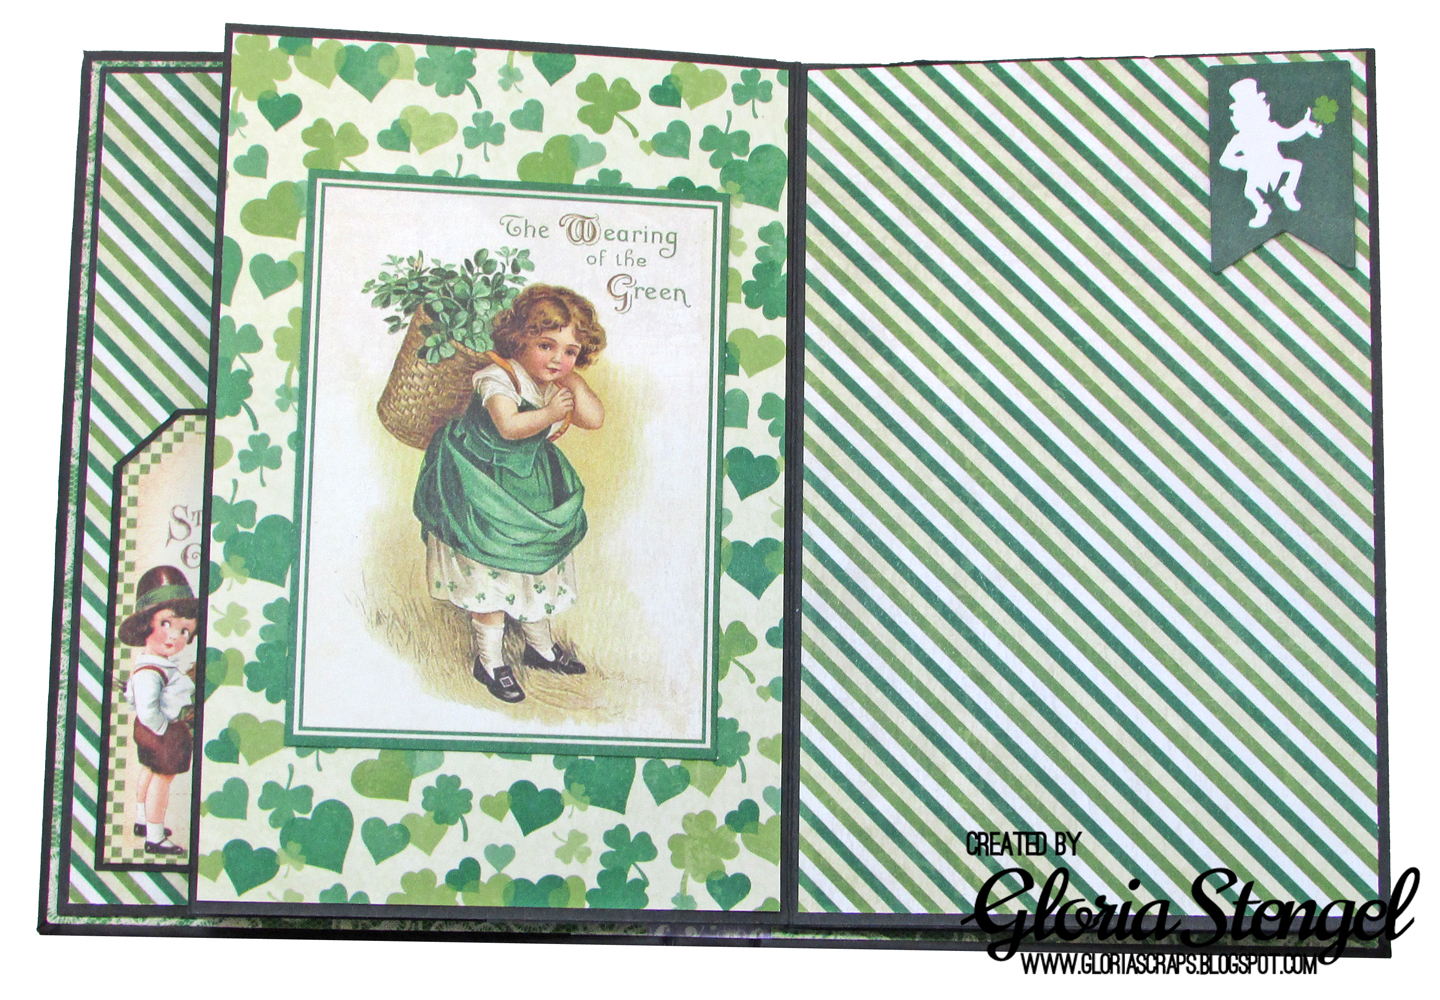
Decorate your pages as desired. Each page holds a 6" x 4" photo, but I decorated my pages with pretty paper.


Now, let's work on that fantastic ribbon cover!

Wrap the chipboard in a coordinating color paper or cardstock. I used a green dot in the same shade of green as the ribbons in the February Ribbon Club Assortment. I did this just in case there are gaps in the ribbon, you will not see the naked chipboard through the gaps.
In addition to using all the ribbons in the February Assortment, I also added Grape Plaid Ribbon and a piece of White Lace.

I started the weaving by attaching the top horizontal ribbon first. Then I added all the vertical ribbons, just attaching them at the top and bottom, wrapping each to the back. I wove the top horizontal ribbon as I went along, making sure that particular piece was securely attached as I went along.


I used only 3/8" ribbon widths for the vertical ribbons, however, once I was near the end, there was not enough space for two 3/8" pieces, but it was too wide for just one 3/8" ribbon! I ended up adding the grape plaid, but the 5/8" piece looks odd (on the right edge). All because I did not measure in advance!
I varied the widths for the horizontal ribbons and it seemed to come out perfectly, by sheer luck!

Add foam tape to the back of the ribbon piece and attach it to the front of the mini album.


To decorate the cover, I cut the word "lucky" and a shamrock charm with the Silhouette out of black cardstock. I used a spray adhesive to attach them to the front cover. The spray adhesive seemed to adhere well to the ribbon.

Now, hop over to Ginny's Blog to see what she has for you! Ginny is the QUEEN of all things layered and ribbon-y, so I am sure she has a beauty for you to see!
Here is the RRR Blog Hop Order in case you get lost!
Really Reasonable Ribbon's Ramblings (REMEMBER, LEAVE A COMMENT ON THE RRR BLOG FOR A CHANCE TO WIN!)
Gloria - YOU ARE HERE!
Thanks so much for stopping by today.

Ribbon: Really Reasonable Ribbon February Ribbon Club Assortment, Grape Plaid Ribbon, White Lace
Cardstock: WorldWind CutMates Licorice, Smooth and Silky Midnight
Printed paper: Authentique Shamrock (full collection); Emerald Details Stickers; MicoBasics Light Lavender dots and checks; Spectrum Green Thumb One and Two, Graphic 45 Secret Garden Beautiful Blooms, Meadow Lane, Sunkissed; Children's Hour March Calendar (8x8), March Collecitve (12x12 and 8x8); Place in Time March Cut-Aparts
Chipboard: Grafix
Tags: Graphic 45 ATC - ivory
Enamel dots: Your Next Stamp Love Earth Gumdrops
Shamrock charm: Snapdragon Snippets Lucky Irish Charms (cut file)
Lucky word die cut: English font, cut with Silhouette machine
Tools: Creative Memories corner rounder, Martha Stewart score board, Stampin' Up 1/2" circle punch, Provo Craft deco scissors, Silhouette machine
Adhesive: ATG tape, Scor-tape, 3M foam tape, Arleene's Tacky Spray, Ranger Multi Medium, Scrapbook Adhesives by 3L foam squares
Wow, amazing mini album cover, Gloria! Whoa, that is some gorgeous ribbon weaving. Thanks for the awesome tutorial too. You make it looks so easy.
ReplyDeleteWhat a gorgeous mini album and I just LOVE the ribbon weaving. So pretty!
ReplyDeleteLove this album :-)
ReplyDeleteLove your design, colors and especially the beautiful ribbon!
ReplyDeleteLove your ribbon weaved book cover, Gloria!!! It's so cool and unique! I've done something like this once...a very long time ago--and you've really inspired me to try this technique again! Thanks!!!
ReplyDeleteOh, I can't wait to try one of these myself! Love
ReplyDeleteall that gorgeous ribbon.
Thanks so much for this mini album tutorial...easy to follow. LOVE your colorful ribbon cover! I recently did this with various widths of designer papers. the wonderful textures of the ribbons makes a wonderful difference. Well done!
ReplyDeleteAwesome weaving with this month's Ribbon Club Assortment. Lovely as always!
ReplyDeleteBlessings,
Karen
This turned out super cute, Gloria! What a fun idea! Thanks for the great tutorial. I know how much time that takes! Happy St Pat's Day!
ReplyDeleteAwesome tutorial! Excellent album TFS
ReplyDeleteYour little album is amazing! I don't know if I could ever get the weaving as perfect as yours but it would be fun trying. Thank you for sharing the directions for creating and assembling this project. You have made it look very doable.
ReplyDeleteHappy Valentine's Day! :)
Fabulous--love the ribbon weaving.
ReplyDeleteWhat a beautiful mini album. Love how you did the ribbon weaving.
ReplyDeleteYour wee mini-albums are always a delight - and this is no exception! Love the woven cover. I've never been a huge fan of woven paper strips - but the ribbon gives a much more polished and posh look! You've inspired me to give it a try - perhaps with a thin piece of batting or felt under it give the cover a luxe 'soft' hand.
ReplyDeleteThanks for sharing!
Thanks for sharing your tutorial. Beautiful way to use ribbon.
ReplyDeleteWhat a cute idea for a folio, love how you mixed Graphic 45 and Authentique ( you always do that so well ). Great tutorial for the weaving too, Thasnks !
ReplyDeleteBeautiful cover! Love the colors and textures of the woven ribbons!
ReplyDeleteAbsolutely beautiful! Thanks for the detailed instructions. I love purple and green together as well...
ReplyDeleteSo creative to weave the ribbons and thank you for the tutorial for the cute book!
ReplyDeleteLove the color combination, very pretty album!
ReplyDelete