Graphic 45 Safari Adventure Altered Notebook Tutorial
I was lucky enough to be part of the original Graphic 45 release of Safari Adventure, but I feel twice as lucky to still be around for the NEW Deluxe Collector’s Edition release! I love the beautiful images and earth-tone colors of this spectacular collection!
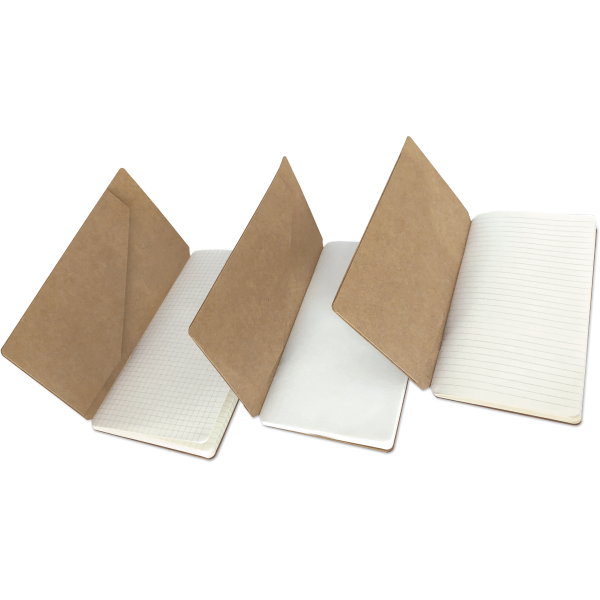
I had a notebook insert left over from a past travel album project and thought it would make an awesome notebook all by itself!
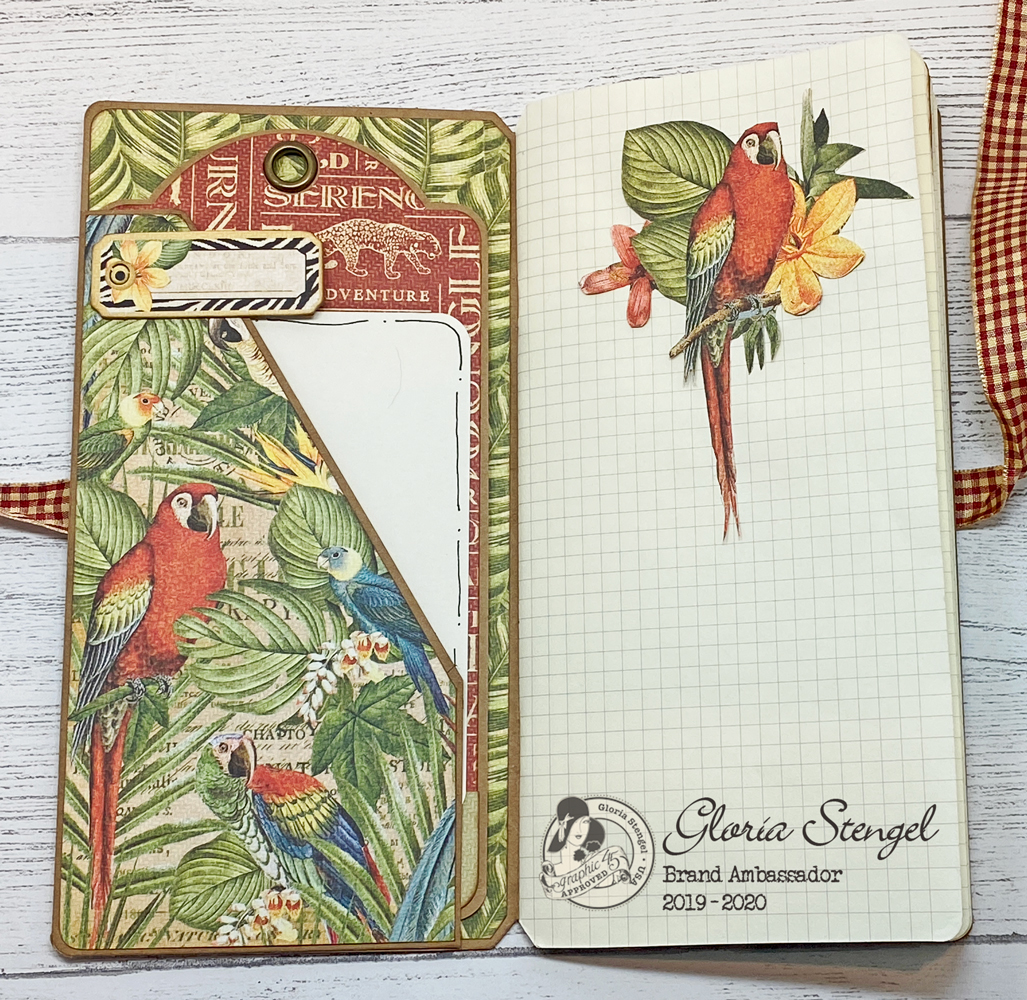
I created tags for the front and back pockets. Plus, I added some fun decor to some of the inside pages. This slim notebook is perfect to stash in your purse or backpack. The grid paper is perfect for taking notes or making drawings!
Let’s get started!
You will need the Safari Adventure Deluxe Collector’s Edition (with chipboard and stickers) and one notebook from the Travel Album Notebook Set. Begin by wrapping a 1 yard length of ribbon around the notebook securing to the front and back covers. Tie a bow to keep the notebook closed. Trim any excess ribbon, if necessary.

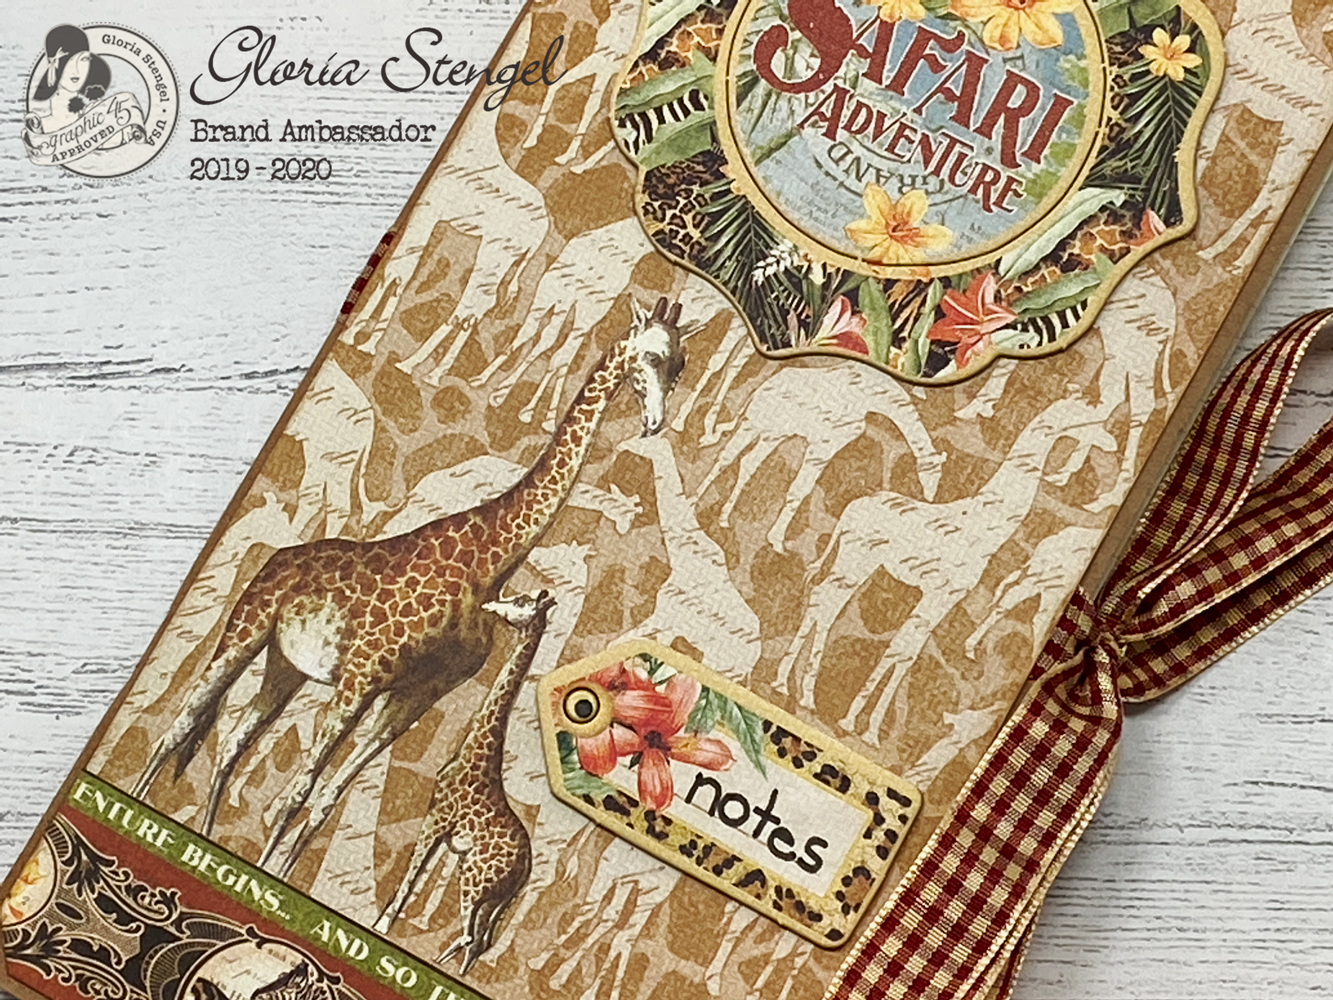
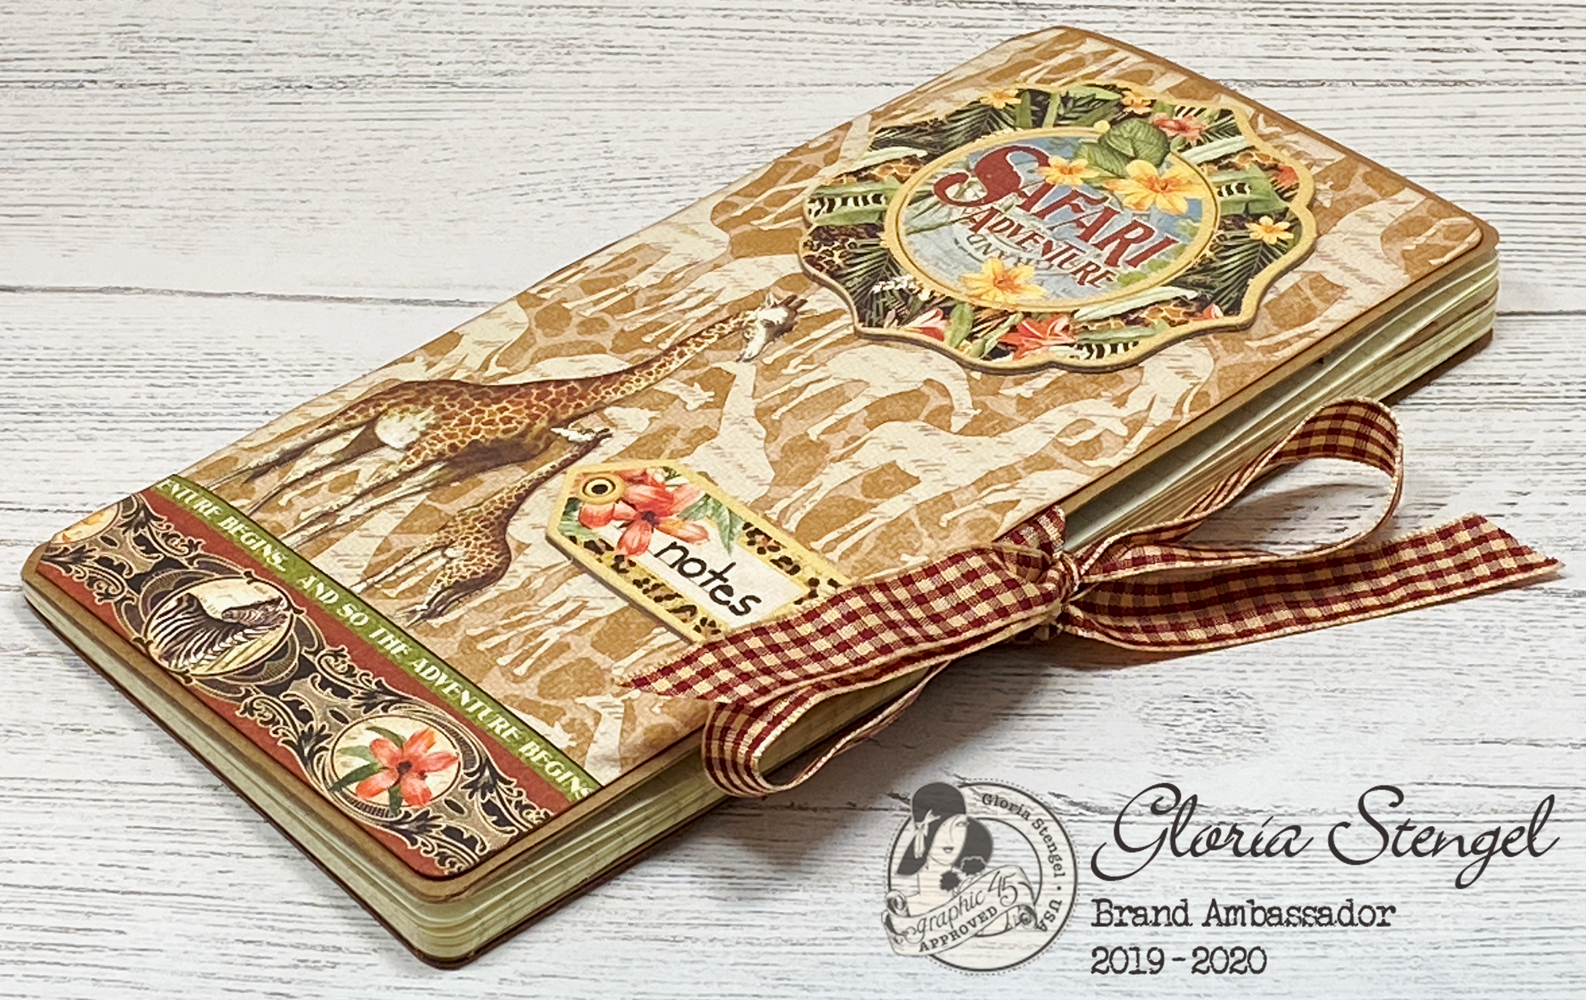
Trim the giraffe paper to fit the front cover (approximately 8 ⅛” x 4 ⅛”). I also added a bit of a border strip to the bottom of the cover. Use the cover as a guide for rounding the paper corners.
Trim the giraffe images from the Signature Sheet and glue them to the front cover as shown. Add chipboard elements as desired. I used a journaling pen to write “notes” on one of the tags.
The slim profile of this notebook makes it perfect for slipping into your purse or backpack! However, if you stuff it full, the ribbon tie closure will keep everything secure!
Trim the spotted print paper to fit the back cover (approximately 8 ⅛” x 4 ⅛”).
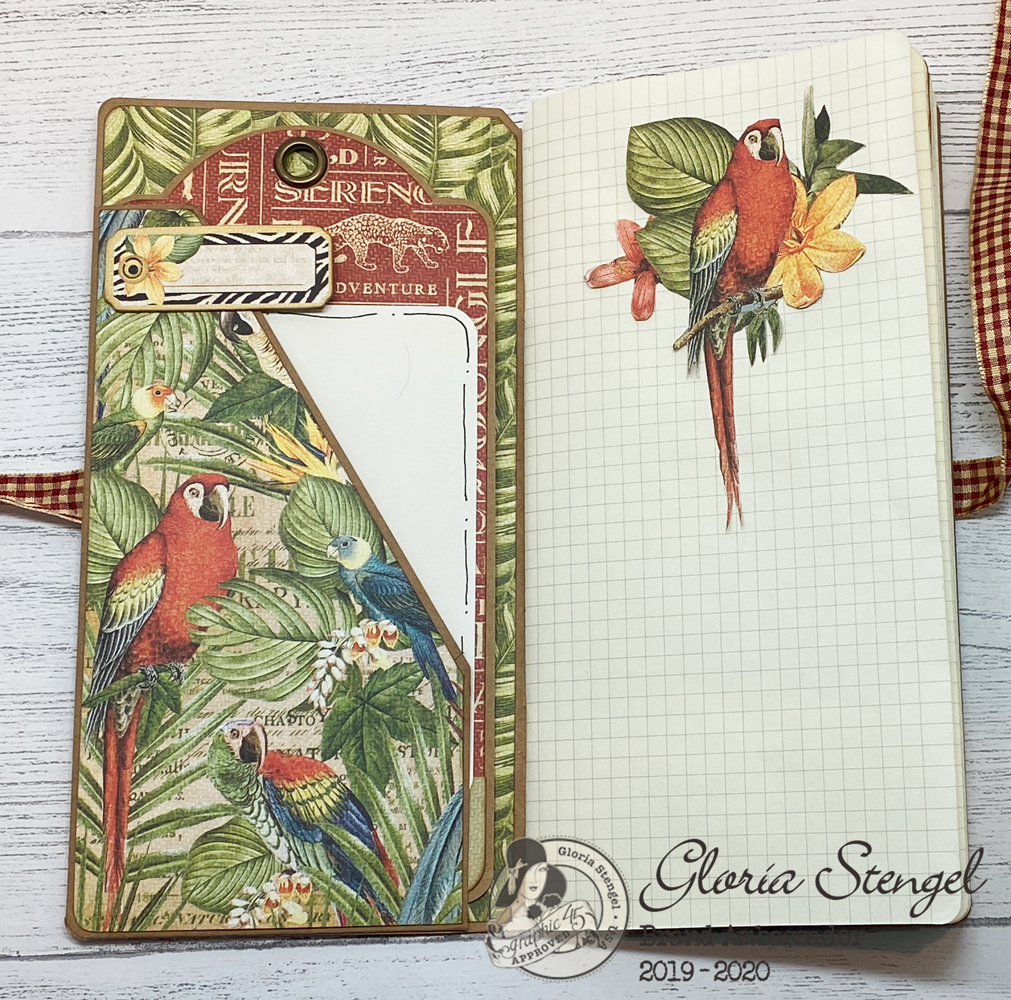
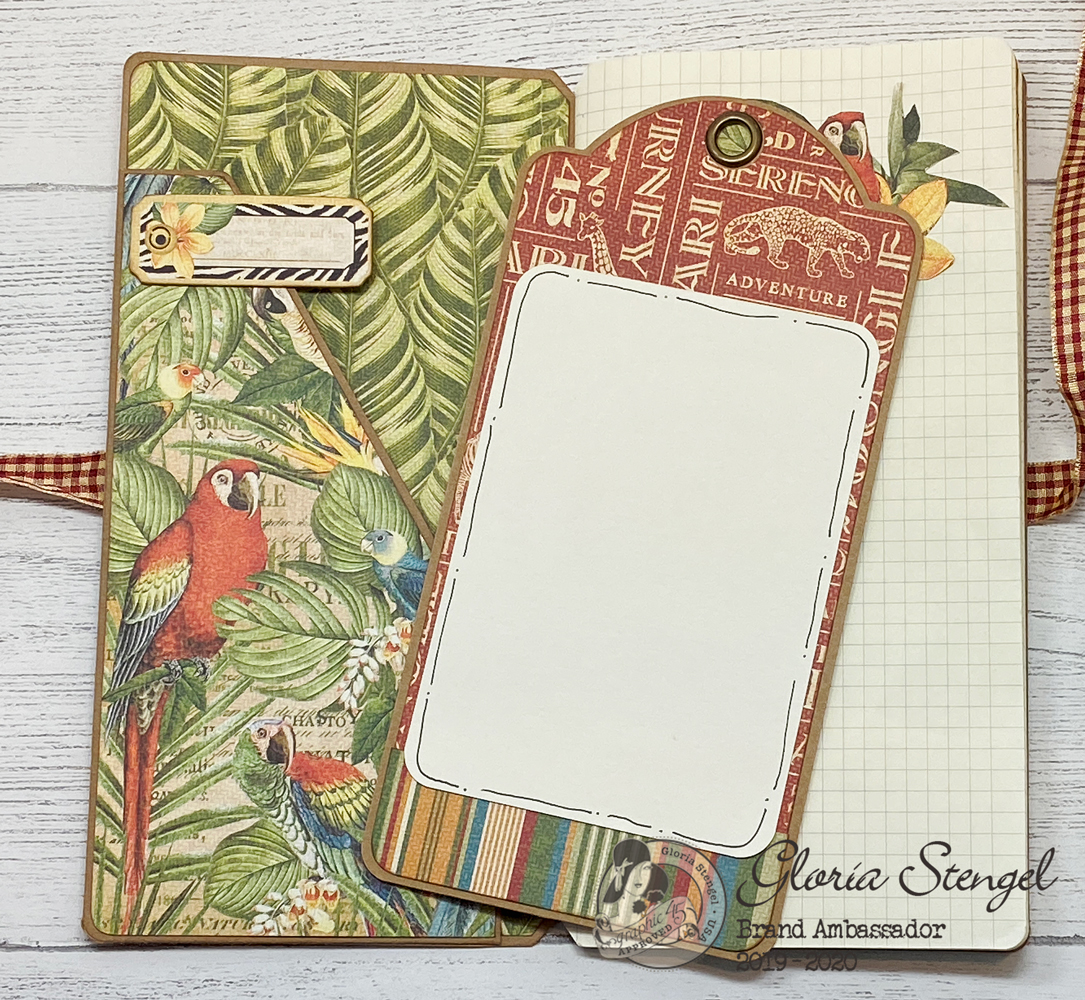
To add paper to the inside pocket, create a template by tracing the shape of the pocket onto a piece of computer paper. Trim out the template to be slightly smaller than the pocket.
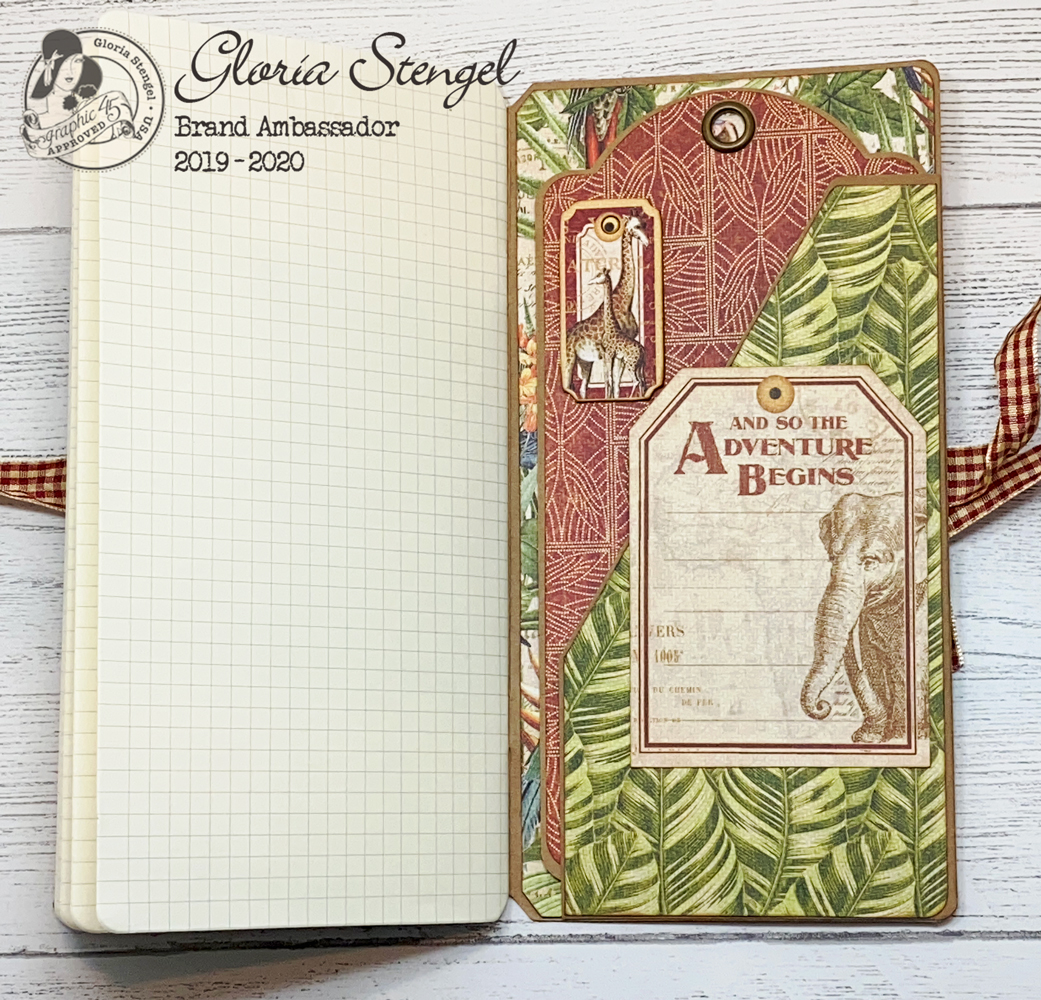
Add paper to the pocket and to the inside cover (behind the pocket). I also added a chipboard tag to the upper edge of the pocket.
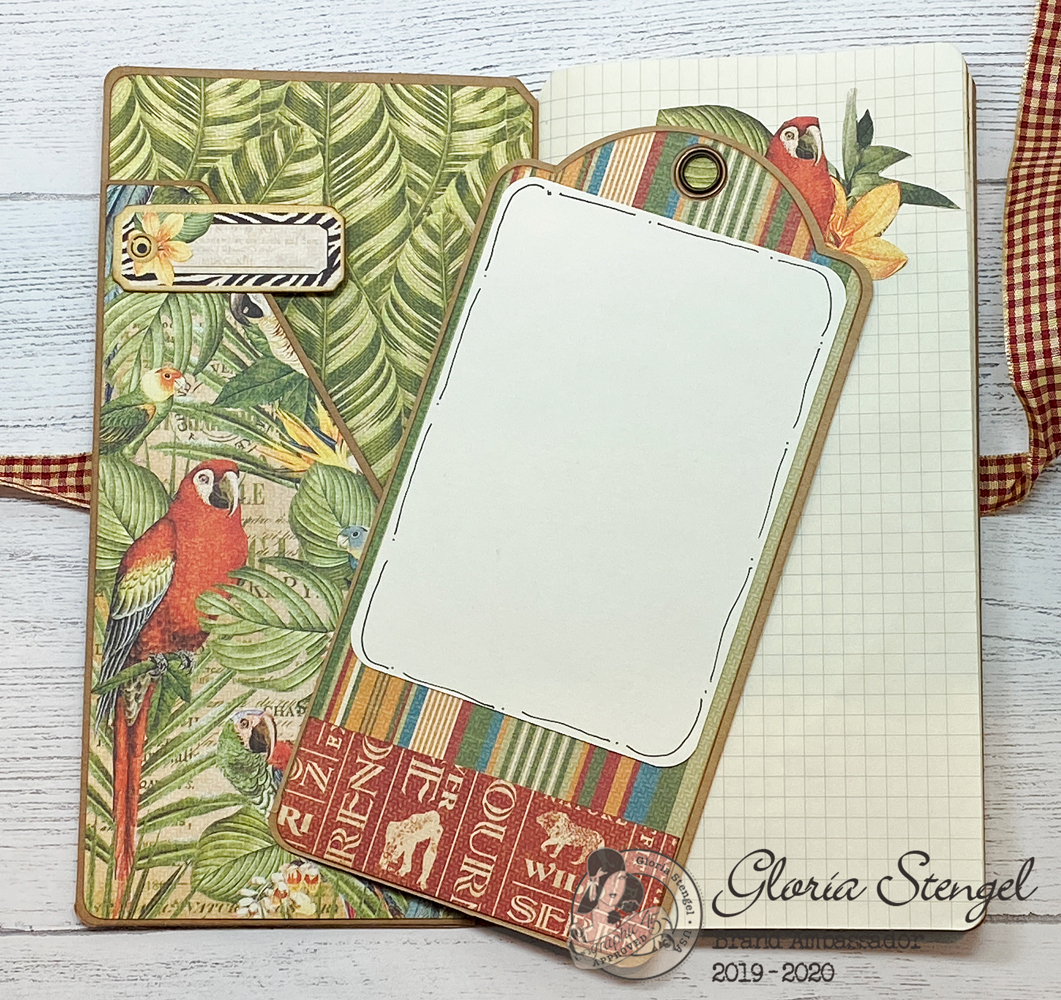
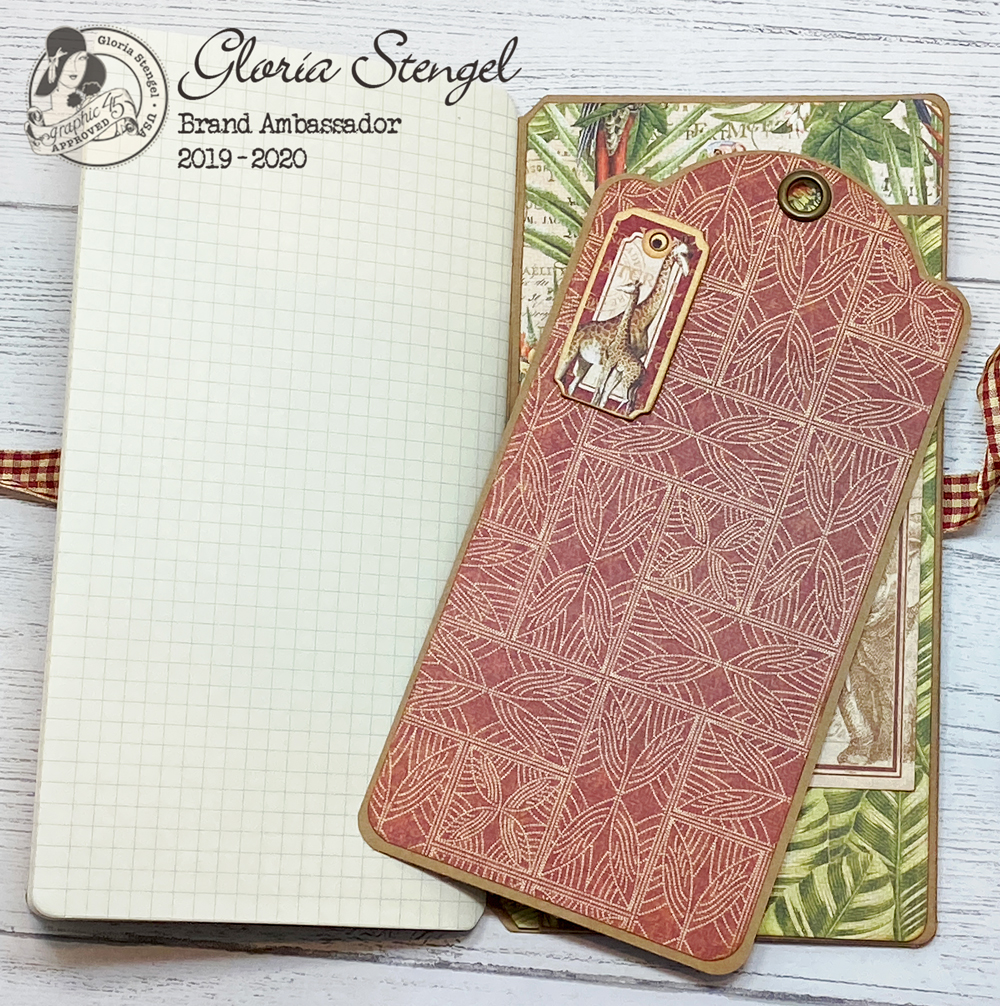
Cut 1” from the bottom of a Large Kraft Tag. Then, use the Large Tag Die to trim paper to fit the tag, cutting 1 ⅛” from the bottom of the paper. Round the corners, as shown. If you wish, add a contrasting strip of paper to the bottom edge of the tag.
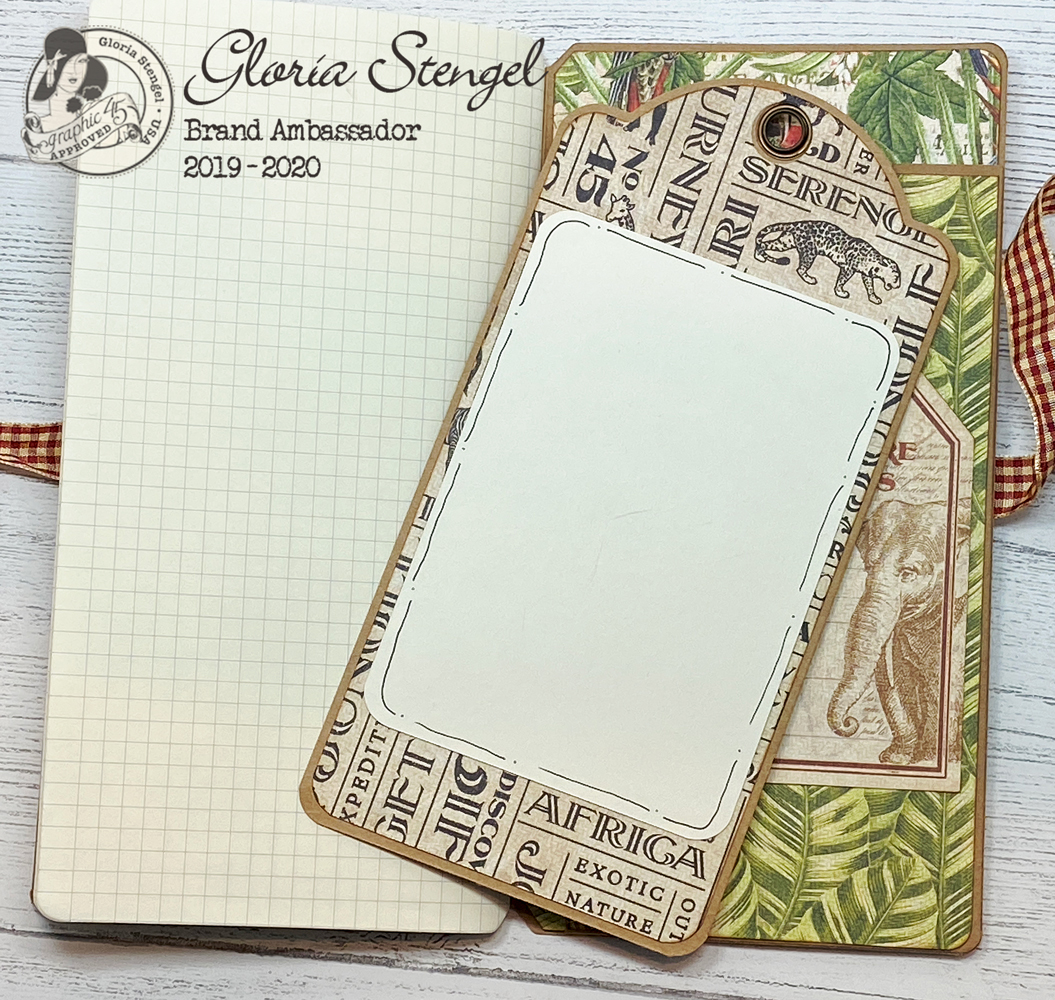
Use ivory cardstock to trim out a photo mat to fit the tag and round the four corners. I used a journaling pen to draw a decoration around the edges of the photo mat.
Repeat the process for the back of the tag.
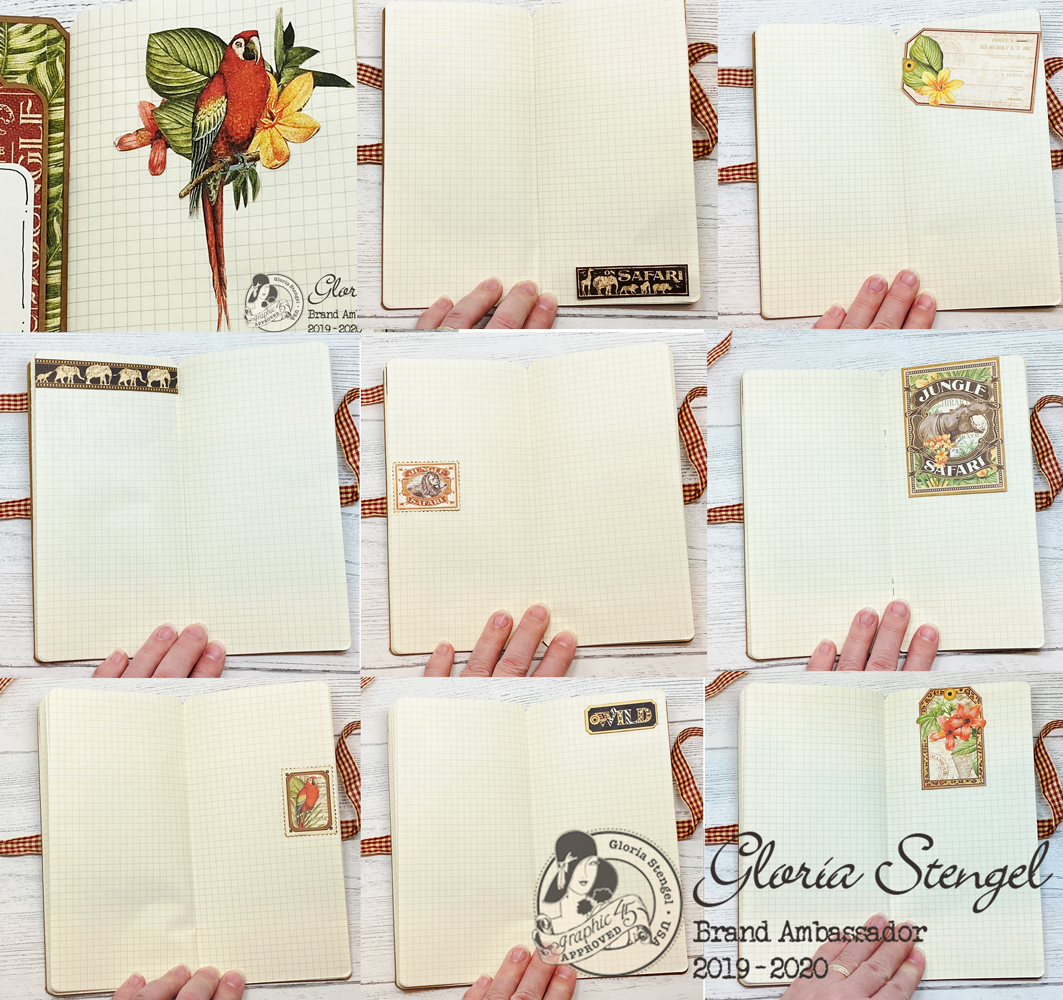
Cut various images from the Safari Adventure paper and add them to the pages of your notebook. You may also wish to add fussy cut images and some of the chipboard shapes or stickers.
Repeat the above process for the pocket inside the back cover. I also added a fussy cut tag to my pocket.
The chipboard shapes make great tuck spots for the large tags.I stayed with the giraffe theme!
Add a photo mat to the back of the tag, if you wish.
Your notebook is ready for you to add photos, journaling, sketches, or whatever you wish!
Tie the notebook closed and slip it into your bag!
Thanks for looking!


Just what I need for an upcoming trip! THANK YOU!!!!!!!!!!!
ReplyDeleteLove your projects. Thanks for providing the details
ReplyDeleteI love the notebook, you are so creative,I would love to do a similar one using Graphic 45 Farm paper collection.
ReplyDelete