
Hello! I am sharing a project over on the Really Reasonable Ribbon Blog today. If you are in need of ribbon, trims, or mulberry flowers...stop by the RRR store!
I had a fun time playing with foiling over the weekend, and I wanted to share one of the results with you! I made a huge mess, made some mistakes, learned some things!
I have been noticing lots of foiling questions and information on some of the card making groups and YouTube channels that I follow. I was around crafting world when foiling was popular once or twice before, and will confess that I was not really into it. We used a hot iron to heat it up back in those days, and it often produced terrible results. {smile}

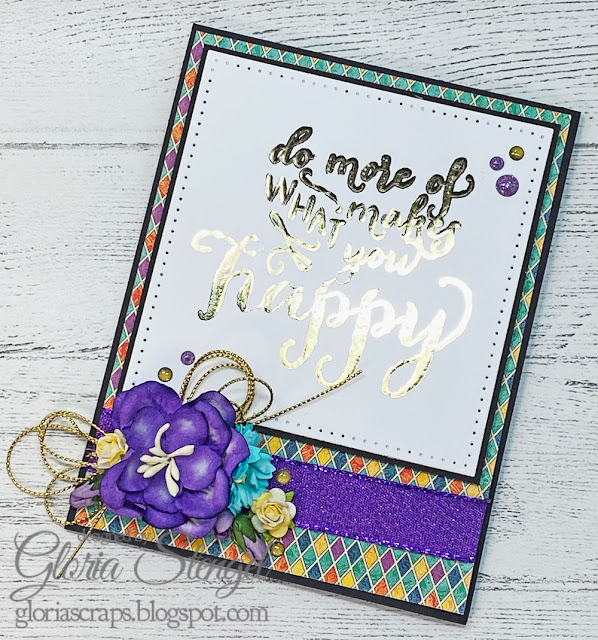
I created my foiling by first heat embossing the sentiment with Versamark ink and clear embossing powder. Once the sentiment was heat embossed, I placed a sheet of foil over the top of the cardstock and placed the two pieces into a parchment paper carrier folder. I then passed the "sandwich" through a hot laminating machine. Presto! Chango! A foiled sentiment!
Note: I investigated the hot foil machine method of foiling (such as the Spellbinders Glimmer Hot Foil Stamp Press), but ultimately decided I did not want to own yet another machine that takes up valuable real estate in the craft room, and it would cost me a lot of money buying the foiling plates. The laminator is pretty small and can be used for a ton of other things, plus it was super cheap on Amazon!
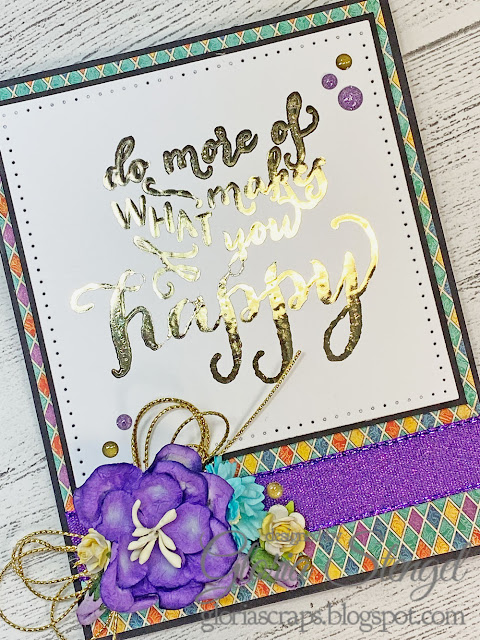
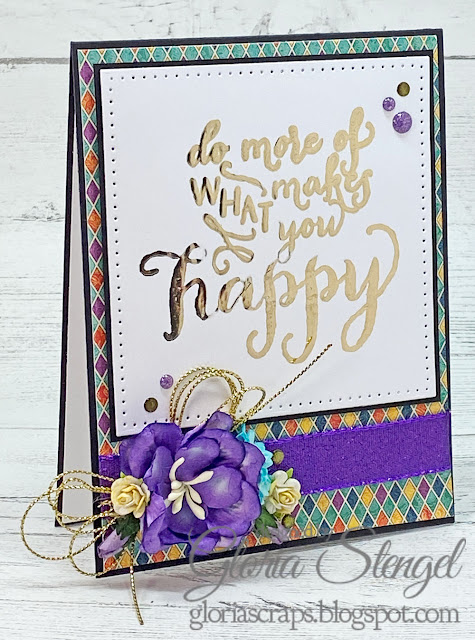
 Because the foil is so shiny, it is very hard to get a good photograph! If you are familiar with heat embossing with gold powder, you will be able to see that the foil is quite a bit smoother and shinier than embossing powder.

I did run this through the laminator twice, which made the foiling a bit "thicker" than I wanted, but it still looks nice.
 To make sure I was keeping the shine going, I used Glitz Ribbon and Metallic String to finish off the card. The card is a standard 5 1/2" x 4 1/4" made from black cardstock. I lined the inside with white cardstock to give a place to stamp or write a message.
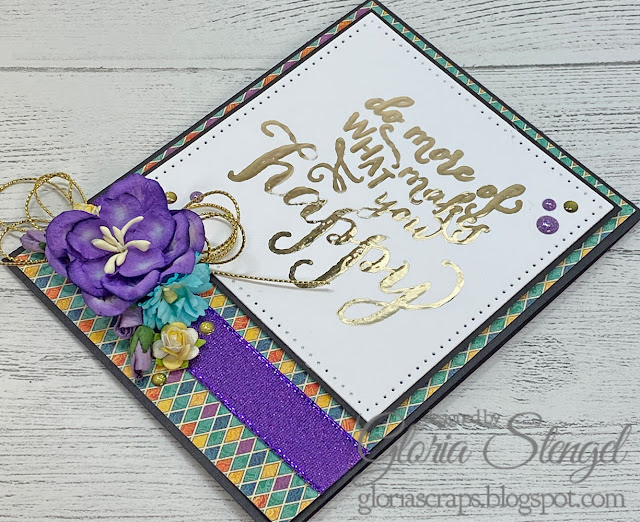 I wrapped a piece of the purple Glitz Ribbon around the bottom of the card and added a loopy bow made from the gold Metallic String to the left edge. I created a flower cluster with some purple, blue, and yellow flowers. (Full supply list below.)


I placed a few glitter enamel dots around here and there. I am pretty excited to try more foiling techniques and have a list going of what to do next!
Thank you so much for stopping by!

Really Reasonable Ribbon Supplies Used:
Other Supplies Used:
Printed paper: Graphic45 Midnight Masquerade 8x8 pad
Cardstock: Reflections black, Hammermill 110# white
Stamp: Stampin' Up Hello Life
Enamel dots: Doodlebug Design Sprinkles gold, Echo Park glitter dots Let's be Mermaids
Die: Elizabeth Craft Design Stitched Square
Laminator and supplies: Royal Sovereign, parchment paper, iCraft Deco Foil Champagne
Ink: Versamark
Embossing powder: WOW clear gloss super fine
Adhesive: hot glue, ATG, foam tape
Love the shiny foil! This card is amazing!
ReplyDelete